1.1. Acronyms and Definitions
1.2. Recommended System Requirements
1.3. Installation Folders
1.4. Boot Flow Overview
1.5. Getting Started
1.6. Enabling the UEFI DXE Phase and the UEFI Shell
1.7. Using the Network Feature Under the UEFI Shell
1.8. Creating your First UEFI Application
1.9. Using Arm* DS-5* Intel® SoC FPGA Edition (For Windows* Only)
1.10. Pit Stop Utility Guide
1.11. Porting HWLIBs to UEFI Guidelines
1.12. Tera Term Installation
1.13. Minicom Installation
1.14. Win32DiskImager Tool Installation
1.15. TFTPd64 By Ph.Jounin Installation
1.16. Revision History of Intel® Arria® 10 SoC UEFI Boot Loader User Guide
1.5.1. Compiling the Hardware Design
1.5.2. Generating the Boot Loader and Device Tree for UEFI Boot Loader
1.5.3. Building the UEFI Boot Loader
1.5.4. Creating an SD Card Image
1.5.5. Creating a QSPI Image
1.5.6. Booting the Board with SD/MMC
1.5.7. Booting the Board with QSPI
1.5.8. Early I/O Release
1.5.9. Booting Linux* Using the UEFI Boot Loader
1.5.10. Debugging an Example Project
1.5.11. UEFI Boot Loader Customization
1.5.12. Enabling Checksum for the FPGA Image
1.5.13. NAND Bad Block Management
1.14. Win32DiskImager Tool Installation
Task time: 10 minutes
Win32DiskImager writes a raw disk image to a removable device or can backup a removable device to a raw image file. It is very useful for embedded development, namely Arm* development projects.
To install Win32DiskImager into your machine, execute the following steps:
- Download the tool from here.
- Download the installer Win32DiskImager-0.9.5-install.exe into your local drive.
- Double-click the installer Win32DiskImager-0.9.5-install.exe to start the installation for Win32DiskImager into your local machine.
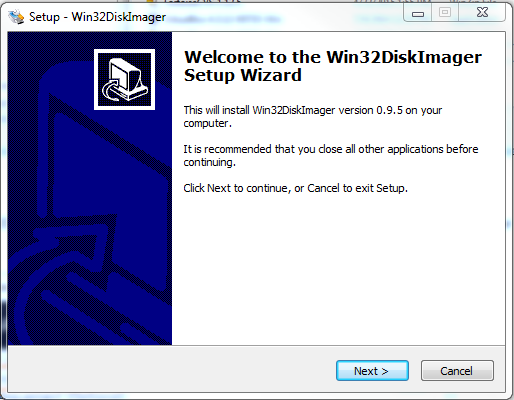
- When the Setup – Win32DiskImager window appears, click Next to proceed.
Figure 147. Win32DiskImager Setup Window
- Check the radio button for I accept the agreement and click Next.
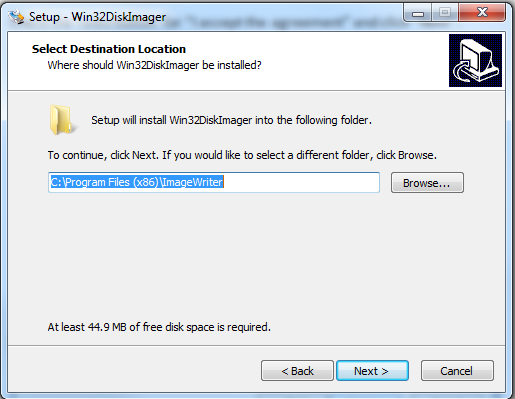
- Configure the installation path as below and click Next.
Figure 148. Installation Path
- Leave the Select Start Menu Folder as the default Image Writer and click Next.
Figure 149. Select Start Menu Folder

- Check the box for Create a desktop icon and click Next. The Ready to Install window appears.
- Click Install to proceed with the installation.
- When the installation wizard has finished, the Completing the Win32DiskImager Setup Wizard window appears. Click Finish to exit the setup. Win32DiskImager is now installed.
When the installation process completes, you can launch Win32DiskImager and view the README file. The README describes the functions and limitations of the Win32DiskImager and indicates that Win32DiskImager is a free tool released under a GNU General Public License (GPL).