AN 841: Signal Tap Tutorial for Intel® Stratix® 10 Partial Reconfiguration Design
ID
683875
Date
1/28/2022
Public
2.1. Step 1: Getting Started
2.2. Step 2: Preparing the Base Revision
2.3. Step 3: Preparing the Implementation Revisions for Debugging
2.4. Step 4: Configuring Signal Tap Logic Analyzer
2.5. Step 5: Generating Programming Files
2.6. Step 6: Programming the FPGA Device
2.7. Step 7: Performing Data Acquisition
2.3. Step 3: Preparing the Implementation Revisions for Debugging
To prepare the implementation revisions for debug, instantiate the SLD JTAG Bridge Host Intel® FPGA IP and the Intel Configuration Reset Release Endpoint to Debug Logic IP. Then, add a .stp file to the implementation revisions that you want to debug.
In this step, you prepare each of the revisions for debugging by repeating the preparation procedure for each of the following revisions:
- blinking_led_slow
- blinking_led_default
- blinking_led_empty
To prepare the blinking_led_slow revision for debug:
- In the Intel® Quartus® Prime GUI, set blinking_led_slow as the current revision.
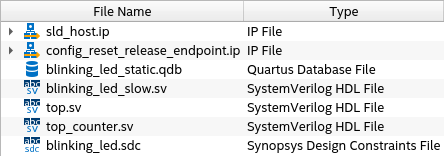
- Include sld_host.ip and config_reset_release_endpoint.ip as a project file in the blinking_led_slow implementation revision.
Figure 16. Files in blinking_led_slow Project Overview After Adding sld_host.ip and config_reset_release_endpoint.ip Files
- In the blinking_led_slow.sv file, update the port definition for the PR personas to include the required ports by uncommenting this block of code :
//================= //Uncomment this block to enable Signal Tap input wire reset, input wire tck, input wire tms, input wire tdi, input wire vir_tdi, input wire ena, output wire tdo, //================= - In the blinking_led_slow.sv file, instantiate the sld_host IP in this persona by uncommenting the following block of code:
/=================== // Uncomment this block to enable Signal Tap sld_host u_sld_hostled_two_on ( .tck (tck), // input, width = 1, connect_to_bridge_host.tck .tms (tms), // input, width = 1, .tms .tdi (tdi), // input, width = 1, .tdi .vir_tdi (vir_tdi), // input, width = 1, .vir_tdi .ena (ena), // input, width = 1, .ena .tdo (tdo) // output, width = 1, .tdo ); //=================== - In the the blinking_led_slow.sv file, instantiate the config_reset_release_endpoint IP in this persona by uncommenting the following block of code:
//================== //Uncomment this block to enable Signal Tap config_reset_release_endpoint u_config_reset_release_endpoint ( .conf_reset (reset) // input, width = 1, conf_reset_in.reset ); //================== - Click Tools > Signal Tap Logic Analyzer to open the Signal Tap Logic Analyzer Window.
If you are prompted to choose a template, select the Default template and click Create.
Figure 17. Signal Tap Logic Analyzer Window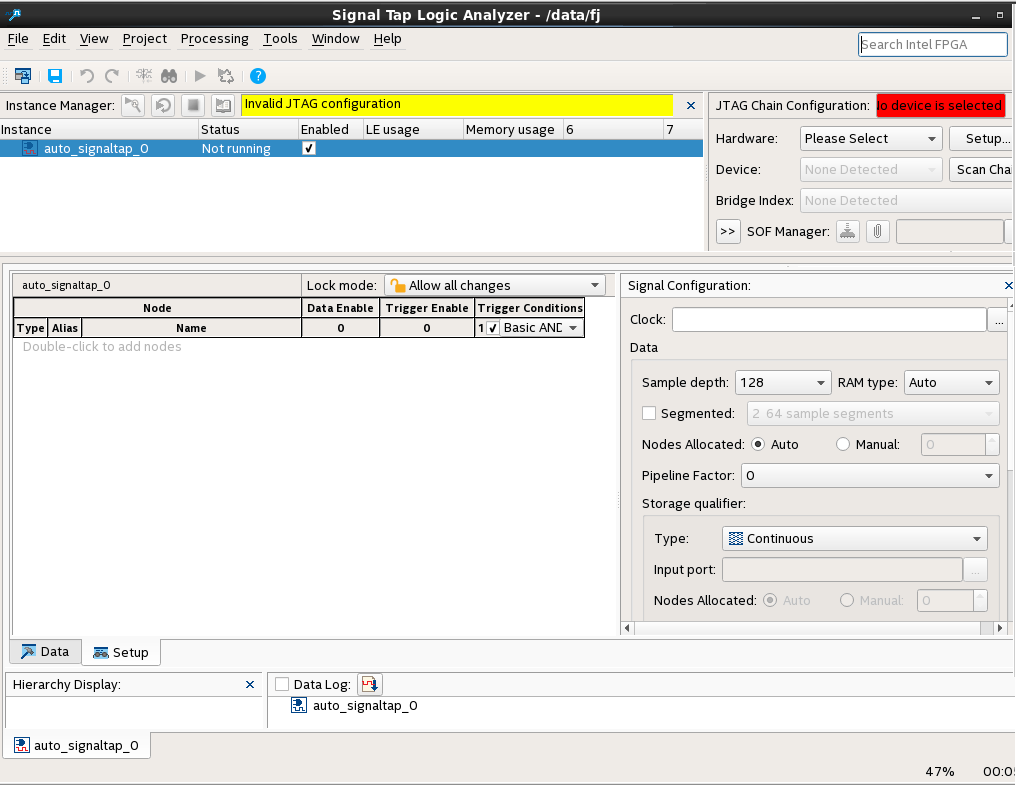
- Click File > Save As, and save the file as stp_slow.stp.
You might get a message saying Input "Data and Trigger" is empty. Click OK to dismiss the message.
A dialog box appears prompting you to enable Signal Tap file stp_slow.stp for the current projectFigure 18. Enable stp_slow.stp for the Current Project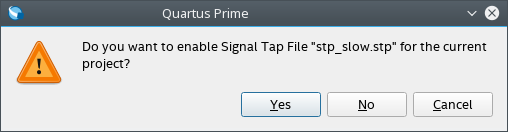
- Click Yes.
Repeat this procedure for the remaining revisions. Change the name of the Signal Tap file to correspond to the revision name as follows:
| Revision | Signal Tap File Name |
|---|---|
| blinking_led_default | stp_default.stp |
| blinking_led_empty | stp_empty.stp |
You can disable Signal Tap in the project by clicking Assignments > Settings. In the Category pane select Signal Tap Logic Analyzer. Then, turn off Enable Signal Tap Logic Analyzer.
Related Information