5.2.2. Starting a Simulation with Ashling* RiscFree* IDE
Before starting the simulation, ensure that you have completed the following tasks:
- Installed Intel® Simics® Simulator for Altera® FPGAs.
- Installed Ashling* RiscFree* IDE for Altera® FPGAs.
- Created an Intel® Simics® project directory and deployed a virtual platform.
Perform the following steps to start running an Intel® Simics® simulation with the Ashling* RiscFree* IDE for Altera® FPGAs:
- Create a RiscFree* IDE workspace directory. Altera® recommends using a separate workspace for each of your Intel® Simics® projects. In this example, the workspace is created at the same level as the Intel® Simics® project already created.
/home/simicsUser/SimicsInstallDir$ mkdir myRiscFreeWS
- From your Intel® Simics® project directory, start the Ashling* RiscFree* IDE for Altera® FPGAs with the ./simics-riscfree command. This example command assumes project directory called projectRiscFree:
/home/simicsUser/SimicsInstallDir/projectRiscFree$ ./simics-riscfree
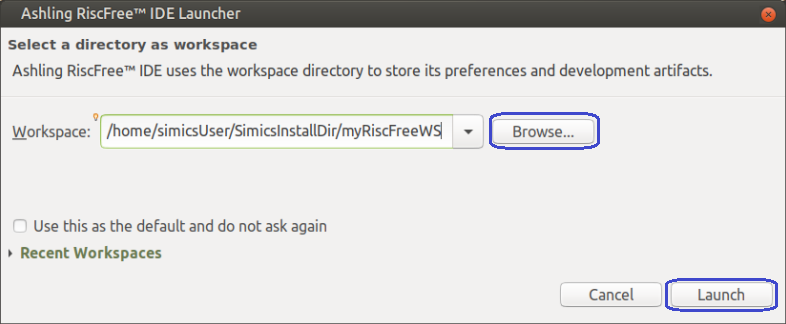
Before launching the RiscFree* IDE, a setup window pops up requesting you to select the workspace that the RiscFree* IDE must use. In this example, the workspace directory is the myRiscFreeWS directory created earlier.
- Use the Browse button to browse the file system for your project directory and click Launch to launch RiscFree* IDE.
Figure 5. Launching the RiscFree* IDE
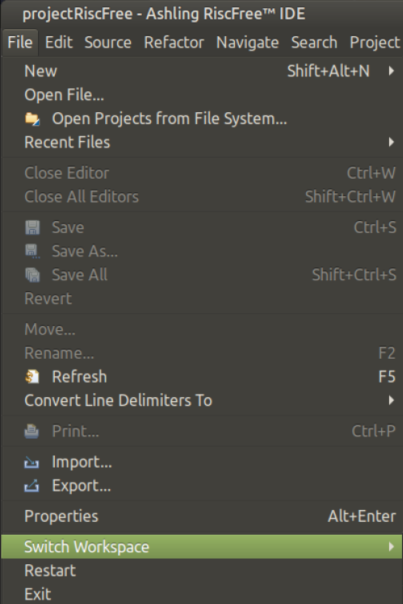
You can always switch workspaces in the RiscFree* IDE using the File > Switch Workspace menu:
When RiscFree* IDE is launched, a new RiscFree* project is created under the current Intel® Simics® project directory (with some metadata also written in the workspace directory indicated). The assigned project name is the name of the Intel® Simics® project directory. You can also view the project with the Project Explorer view, which is the default view. Under this project, you are shown the full content of the Intel® Simics® project directory.
If the Project Explorer view is not displayed, switch to this view (or any other view) from the Window > Show View menu:
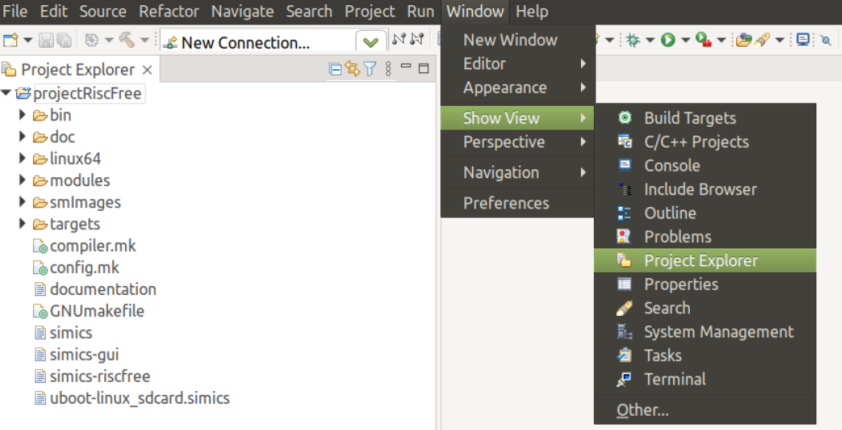
In the above figure, you can see the content of the project directory, which in this case is called projectRiscFreee.
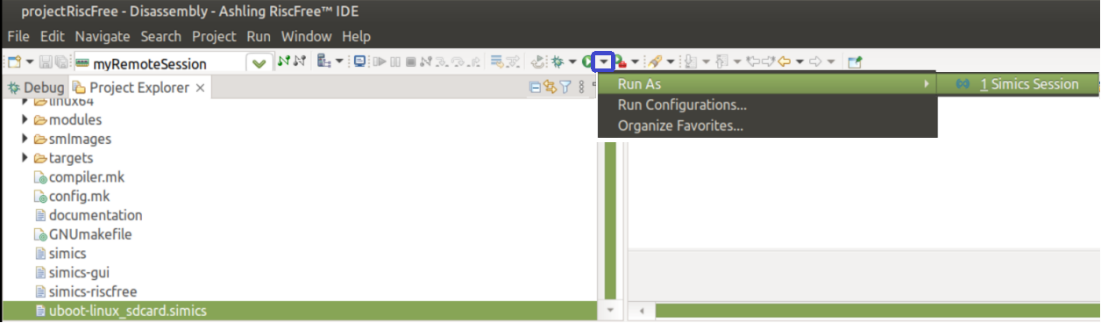
- In the Project Explorer view, start the simulation by selecting the target script to run by clicking the Down arrow button to the right of the Run button. From the pop-up menu, select Run As > Intel® Simics® Session.
When you start the simulation, a new Run Configuration is created called projectRiscFree - uboot-linux_sdcard.simics.
You can view and edit this configuration from the Run > Run Configurations menu item. The new run configuration is under the Intel® Simics® Session category.
For future simulations, you can start a new simulation using existing run configurations directly from the Run button.
Note:- RiscFree* IDE presents some compatibility issues with target script extensions that are different than .simics. In this case, launching the Intel® Simics® simulation fails when it is started as Run or Debug session. Hence, Intel recommends using only target scripts with .simics extensions.
- RiscFree* IDE has some known issues when launching an Intel® Simics® simulation and the execution of the target script prints several messages on the Intel® Simics® console. Intel recommends suppressing Intel® Simics® console print messages to a minimum.
- In general, Intel recommends verifying the target script when running the simulation using the simics command from the terminal before running the simulation with RiscFree* IDE because some error messages might stay hidden during the execution making it difficult to determine the reason why the simulation failed to launch.
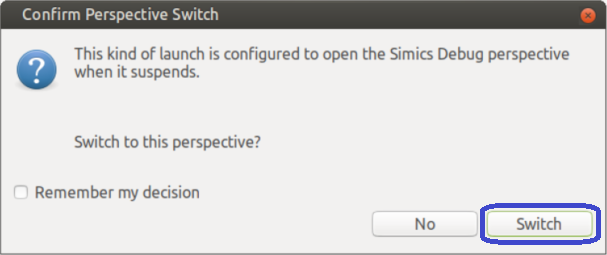
When the Intel® Simics® session starts, you might be prompted to switch to the Debug perspectives. Click Switch to change perspectives.
 The Debug perspective contains several views that allows you to interact with the RiscFree* debugger during a target software debug session. Some of the UI elements in the Debug perspective are as follows:
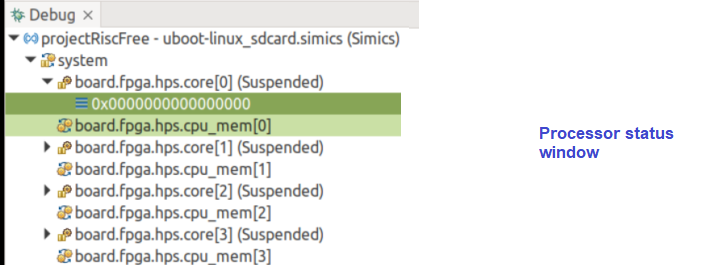
- Processor status view: This view shows the state of each CPUs (running/suspended). It also shows the current program counter value in each one of the processors and the stack frame.
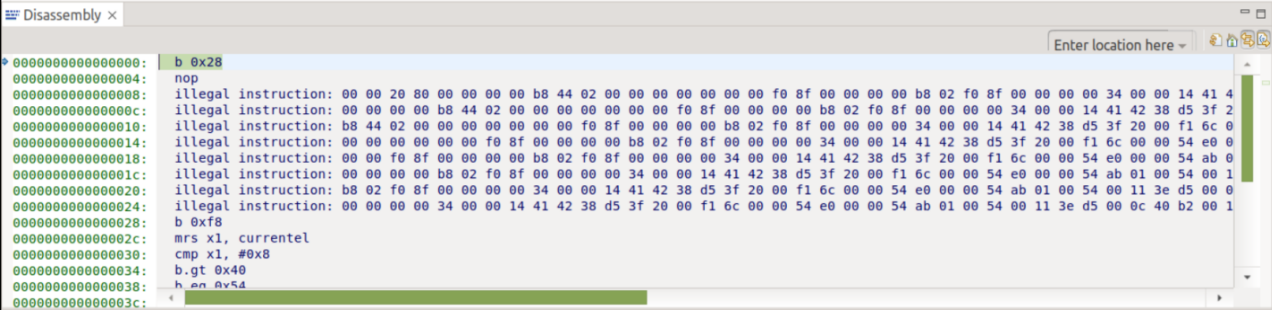
- Disassembly view: Shows the assembler code that the selected processor in the Processor status window is being executed. This shows the address and the instructions.
- Simulation control buttons: Includes several buttons that allow you to control the advance/pause of the simulation: Resume (play) and Suspend buttons. It also includes some controls that allow you to move in the target software with a finer granularity: Step Over, Step Into, and Step Return buttons.

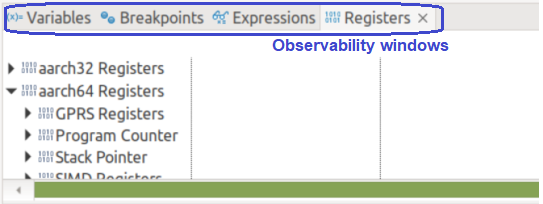
- Observability windows: These windows provide additional views of the target software (Variables and Expressions view), the debug session (Breakpoints view), hardware (Registers view that shows CPU registers and Memory view).
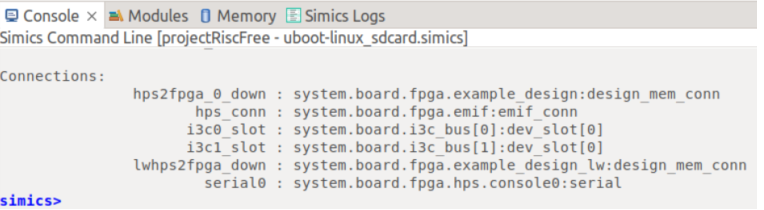
- Intel® Simics® console: You can use the Intel® Simics® console to enter CLI commands to control the simulation flow or support debug activities, among other things.
You can add other views to the open perspective with the Window > Show View menu.
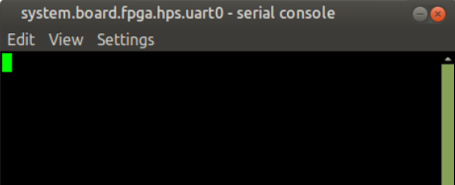
When the simulation starts, an additional window, the Serial Console, opens.
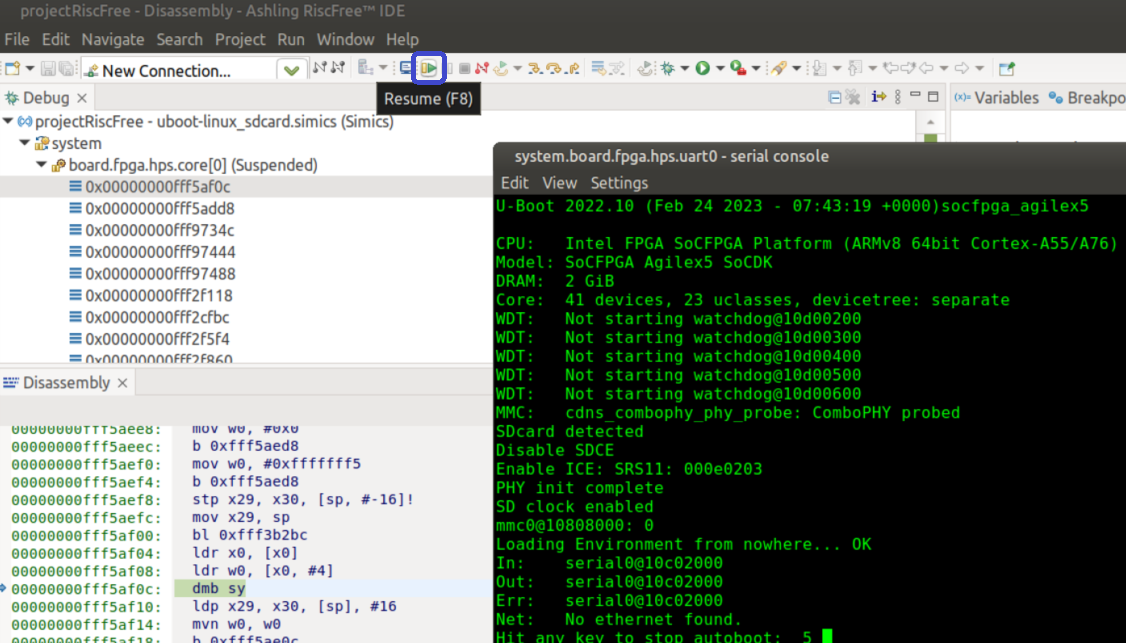
- Run the simulation by clicking the Resume button. After you click this button, messages display in the Serial Console:
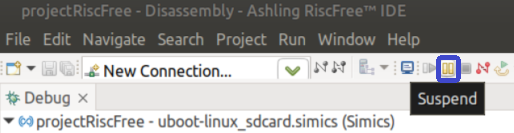
You can pause the simulation at any time using the Suspend button:
Ending The Simulation in Ashling* RiscFree* IDE
To end your simulation/debug session, enter the quit command in the Intel® Simics® console view. This command disconnects the RiscFree* IDE from that simulation session.

After ending your debug session, you can also exit the RiscFree* IDE by selecting File > Exit.