1.1. Introduction
1.2. Bare Metal Overview
1.3. Prerequisites for the Bare Metal Development Environment
1.4. Bare Metal Compiler
1.5. Bare Metal Development Flow
1.6. Using DS-5 AE to Create and Manage Bare Metal Projects
1.7. Importing, Building and Debugging in a Make-Based Example
1.8. DS-5 ARM HWLIBs Project Derived from Make-Based Project
1.9. Minimal Preloader
1.10. Appendix: Troubleshooting
1.7.3. Debug the Project
- Right-click on the project and select Debug > Debug As > Debug Configurations, as shown:
Figure 49. "Altera-SoCFPGA-HardwareLib-FPGA-CV-ARMCC-Debug" Debug Configurations
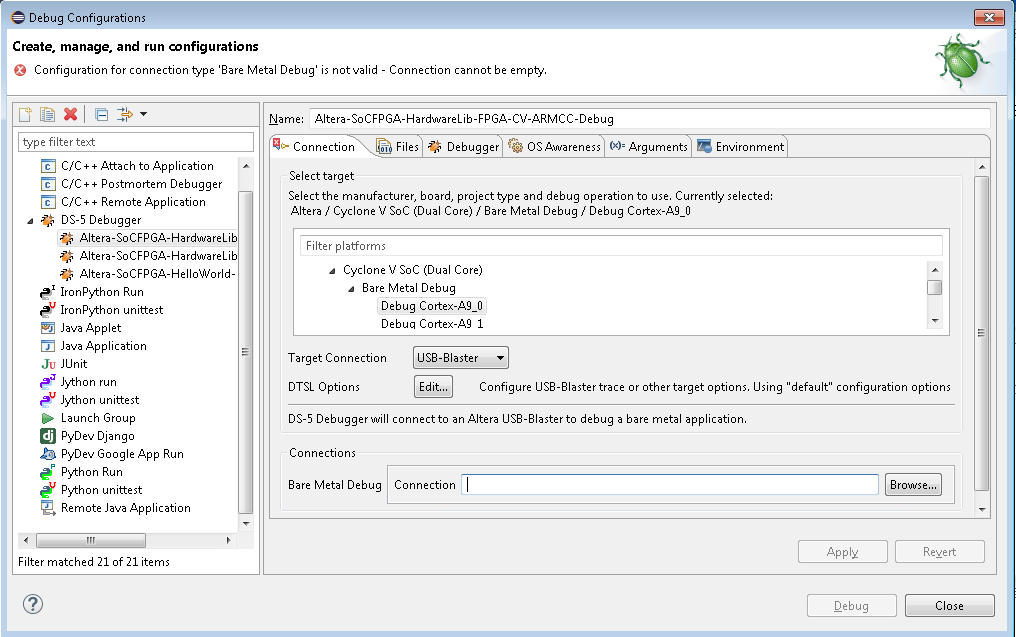
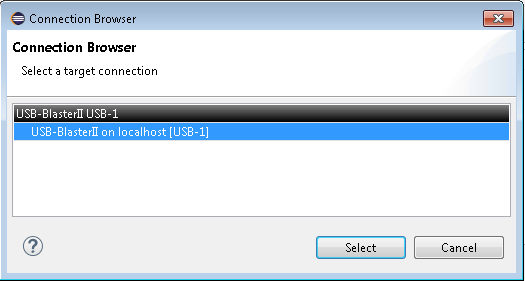
- Next to the Connections field, select Browse and select the hardware you are using (Altera USB Blaster or DStream) from the available connections and click Select.
Figure 50. Connection Browser
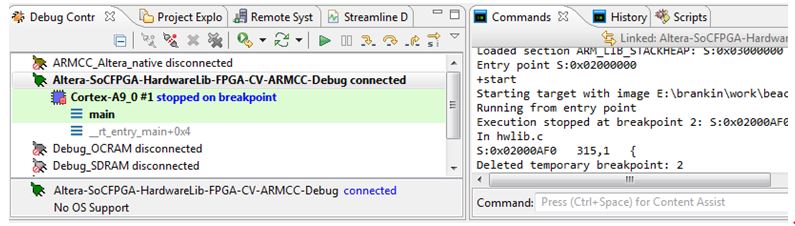
- Select Apply and click Debug to start the debug session which will configure the processor, load the software and execute it, stopping at the “main” symbol as the default.
Figure 51. Debug Stopping at Main
- Click the
 button to start running the code. The code should run to completion. Other options (
 ) are also available on the Debug Control window.
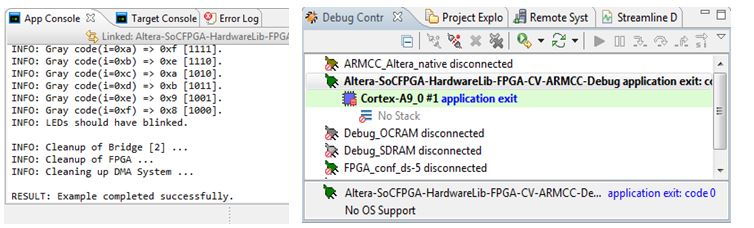
The App Console window should display correct results.Figure 52. Application Exit Displayed in App Console
) are also available on the Debug Control window.
The App Console window should display correct results.Figure 52. Application Exit Displayed in App Console