AN 807: Configuring the Intel® Arria® 10 GX FPGA Development Kit for the Intel® FPGA SDK for OpenCL™
Configuring and Installing the Intel® Arria® 10 GX FPGA Development Kit board
To use the Intel® Arria® 10 GX FPGA Development Kit with the Intel® FPGA SDK for OpenCL™ , you must install the DDR4 memory module, configure certain DIP switches on the board, and add the board to your host system.
- Install the DDR4 memory module as follows:
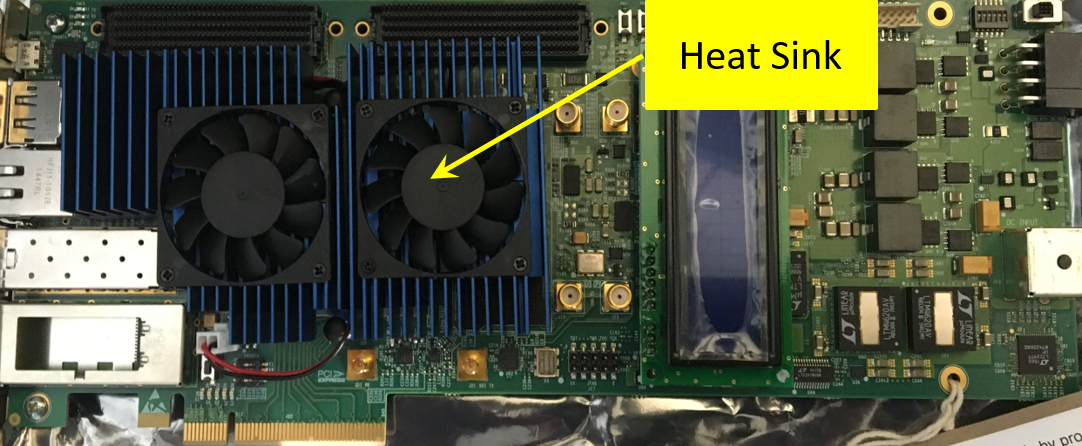
- Locate the heat sink on the Intel® Arria® 10 GX FPGA Development Kit board:
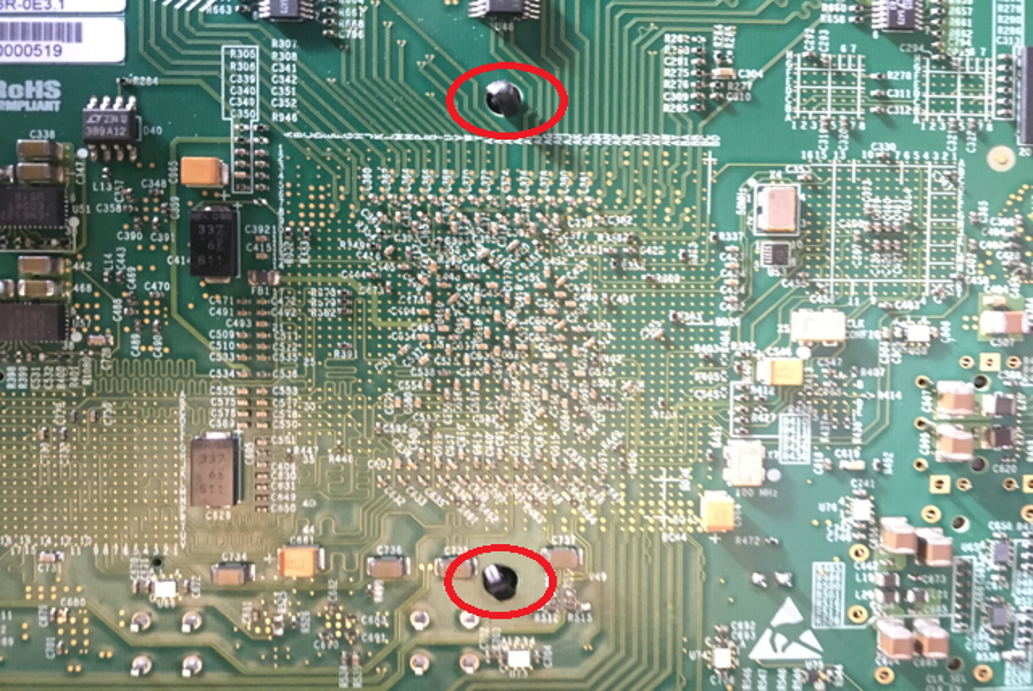
- Remove the heat sink from the board by squeezing and pushing out the two pins from the back of the board.
- Locate the HiLo connector that was previously hidden by the heat sink
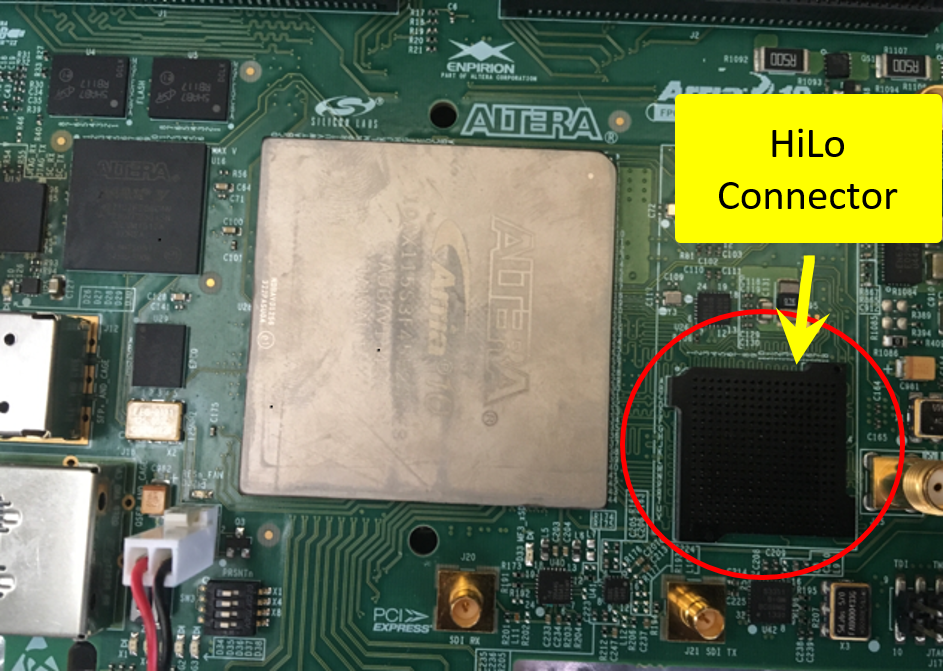
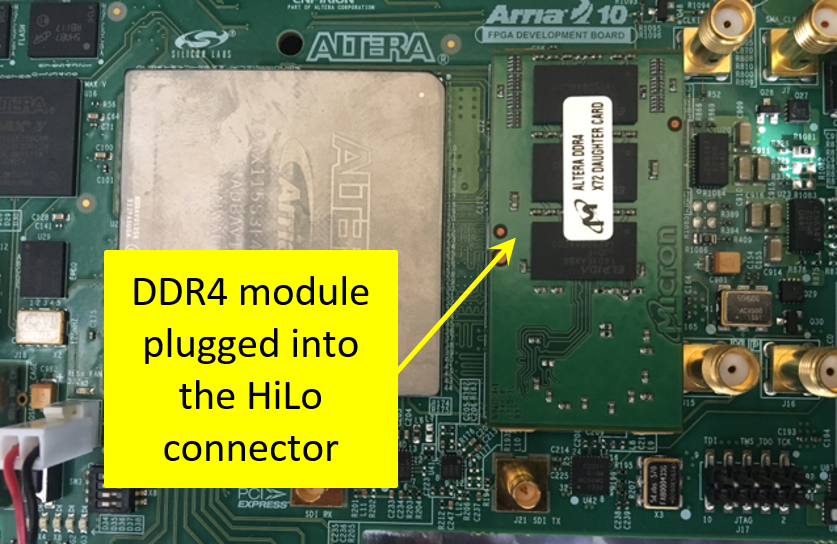
- Plug the DDR4 memory module into the HiLo connector.
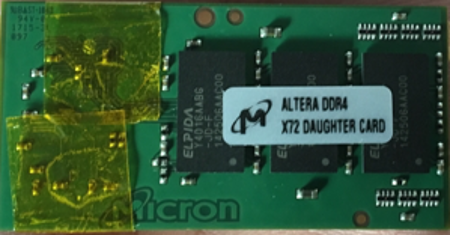
The DD4 memory module provided with the Intel® Arria® 10 GX FPGA Development Kit looks like the following image:
After you have plugged in the DDR4 memory module, your Intel® Arria® 10 GX FPGA Development Kit card should look like the following image:
- Locate the heat sink on the Intel® Arria® 10 GX FPGA Development Kit board:
- Configure the following DIP switches: SW3, SW4, SW5, and SW6:
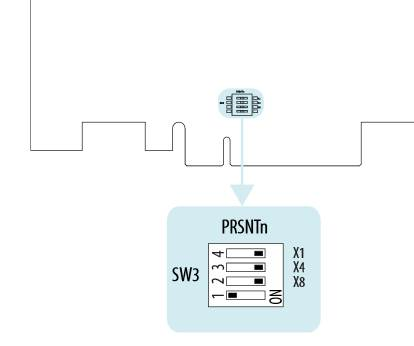
- Locate the SW3 DIP switch on the front of the board:
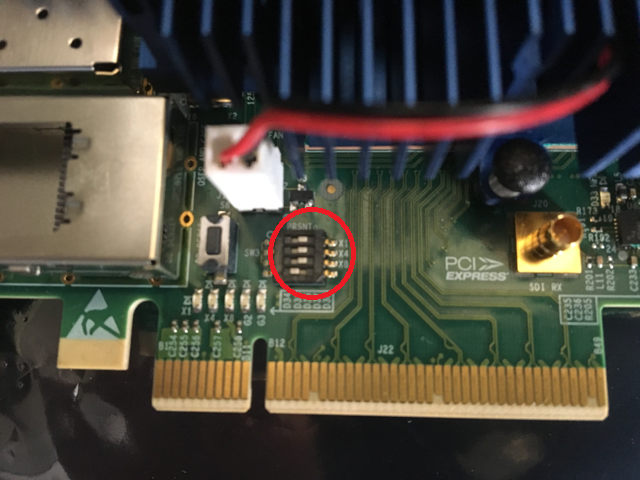
- Ensure that the SW3 DIP switch is configured as follows:
- Locate the SW4, SW5, and SW6 DIP switches on the back of the board:
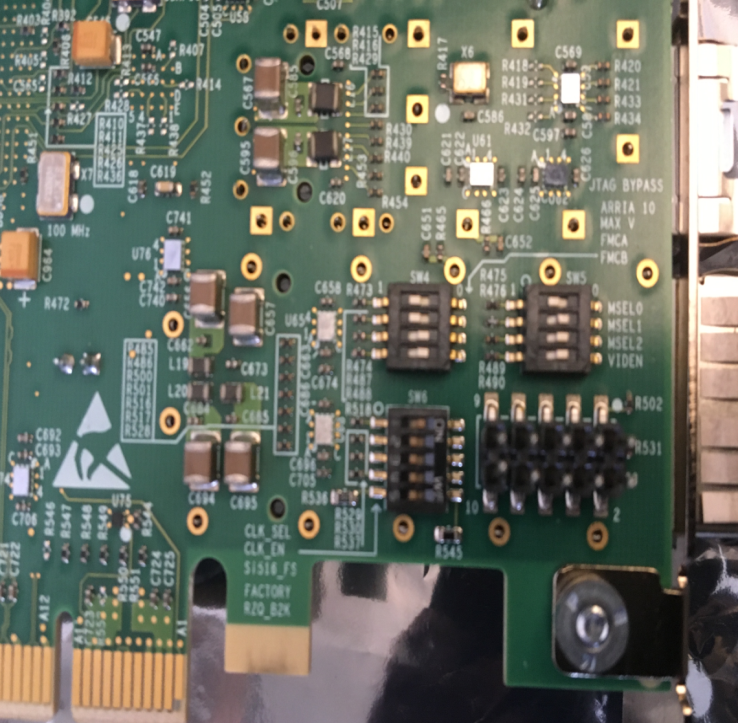
- Ensure that the SW4, SW5, and SW6 DIP switches are configured as follows:

- Locate the SW3 DIP switch on the front of the board:
- Add the Intel® Arria® 10 GX FPGA Development Kit card to your host system:
- Plug the card into a PCIe Gen3 x8 slot on your host system.

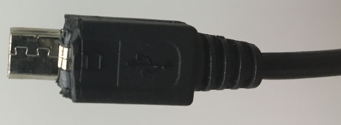
- Connect the card to your host USB subsystem using the micro USB cable.

- Plug the card into a PCIe Gen3 x8 slot on your host system.
After you have configured and installed the hardware, you must initialize the Intel® Arria® 10 GX FPGA Development Kit for use with OpenCL* .