Install oneTBB on Windows* OS
This section describes how you can deploy the oneAPI Threading Building Blocks (oneTBB) library on a Windows* OS machine.
If you plan to install oneTBB as a part of Intel® oneAPI Base Toolkit, refer to the corresponding section of the Intel(R) oneAPI Toolkits Installation Guide.
If you plan to install oneTBB as a standalone product, follow the instructions below, using the installer GUI or a package manager of your choice.
Learn how to install oneTBB with GUI and package manager: * Install with GUI * Install with a Package Manager
Install with GUI
Step 1. Select the preferred installer
Go to Download page. A list of available installers is displayed.
Decide on the Windows installer type that you will use:
Online installer has a smaller file size but requires a permanent Internet connection while running.
Offline installer has a bigger file size but requires an Internet connection only to download the installer file, and then runs offline.
Having decided on the installer type, click the corresponding link to start the download.
Wait for the download to complete.
Step 2. Prepare the installer
For offline installer:
Run the .exe file you have downloaded. The installation package extractor will be launched.
Specify the path where to extract the package - default is C:\Users\<user>\Downloads\w_tbb_oneapi_p_<product_version>_offline.
If necessary, select the Remove temporary extracted files after installation checkbox.
Click Extract.
For the online installer, the download starts automatically after you run the .exe file.
Step 3. Run the setup
If you are running the offline installer, click Continue to proceed. The online installer will proceed automatically.
In the Summary step, select the I accept the terms of the license agreement checkbox.
Select the installation mode:
To use default installation settings, select Recommended Installation. oneTBB will be installed in the default location: %Program FIles (x86)%\Intel\oneAPI\. Click Continue and proceed to the Integrate IDE step.
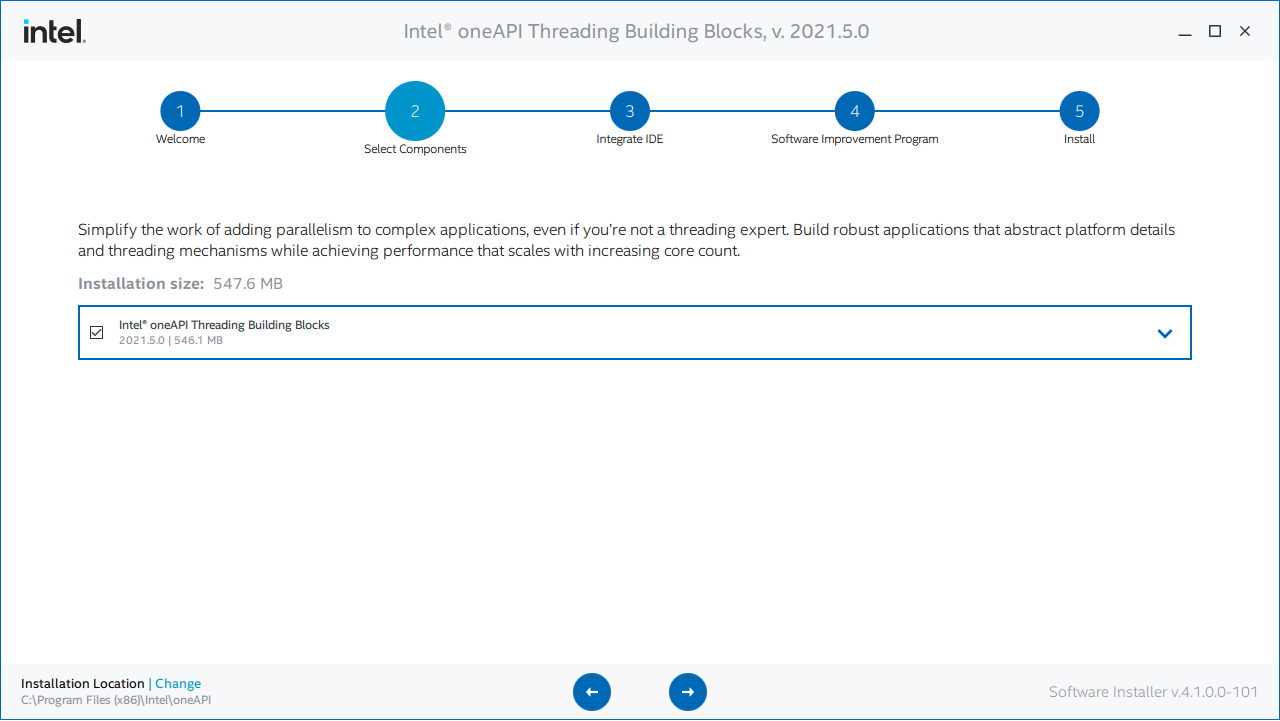
To modify installation settings, select Custom Installation and click Customize. You will proceed to the Select Components step. However, no components other than oneTBB can be selected due to solution nature. In this mode, you can change the default installation location by clicking Change in the bottom-left corner of the window.

At the Integrate IDE step, the program checks if it is possible to deploy oneTBB fully integrated with Microsoft Visual Studio IDE - for that, the supported IDE version must be installed on the target machine. If not installed, you can exit the setup and restart it after installing the IDE, or proceed without integration.
At the Software Improvement Program step, select the option you prefer. Then click Install to start the installation.
Wait for the process to complete. Then click Finish to close the installer or Go to Installed Products to check for updates or take other actions.
Install with a Package Manager
To install oneTBB with a package manager, run the corresponding command described in the documentation:
Upgrading oneTBB
The seamless upgrade is supported for oneTBB 2021.1 and later versions. To upgrade oneTBB to the latest version, run the setup, as described above.
If you used to work with older versions (TBB), consider that the new versions of oneTBB do not provide backward compatibility. See TBB Revamp: Background, Changes, and Modernization for details. Also, refer to Migrating from TBB for more information on migrating to oneTBB.
Uninstalling oneTBB
To uninstall oneTBB, use Applications and Features or Programs and Features.