Install Edge Insights for Vision
During the installation, you will be prompted to enter your product key. This key is in the email you received from the Intel® Registration Center. Contact Support Forum if you do not have this email message.
The steps below explain how to:
- Prepare your target system.
- Download and extract the package.
- Complete the installation steps.
- (Optional) Uninstall the package.
Prerequisites
Install CMake: Download CMake and install it by adding cmake path to system PATH.
Microsoft Visual Studio* with C++ 2019: Download Microsoft Visual Studio* build tools and install C++ related build tools (Desktop development with C++).
- Enable Hyper-V.
Install Docker Desktop version 3.5.x and be sure it is in the Running state.
NOTE:Docker Desktop is required for installation of certain components that are dependent on Docker. If Docker Desktop is not running, the installation of the components below will fail:
- Intel® Distribution of OpenVINO™ toolkit in a container
- AWS* IoT Greengrass Core in a container
- EdgeX* Foundry
Configure the Docker Desktop as follows:
Set the CPU and Memory usage.
Set the proxy.
Disable the WSL engine.
Restart the Docker Desktop application after changing the settings.
Step 1: Prepare the Target System
This step is recommended. Installation of some modules and dependent Python packages may fail if similar modules were already installed due to dependency or version conflicts.
Make sure your target system has a fresh installation of Windows* that corresponds to the version of Edge Insights for Vision that you downloaded.
Follow the steps from the Windows installation guide for a clean installation of Windows 10.
Power up the target system and make sure an internet connection is available.
We recommend that you use 1280*720 or higher resolution.
Step 2: Download and Extract the Edge Insights for Vision Software
In this step you download and extract the edge_insights_vision.zip file. You need to be on the target system to complete these steps.
Refer to Modules and Services for the complete list of supported modules. At download time, you can choose the recommended configuration or you can customize your download by selecting modules.
Make sure you have a working Internet connection.
Download the Edge Insights for Vision package by selecting Windows 10 in the Target System OS selector. Copy the downloaded zip file to the desired location. The download file name is edge_insights_vision.zip.
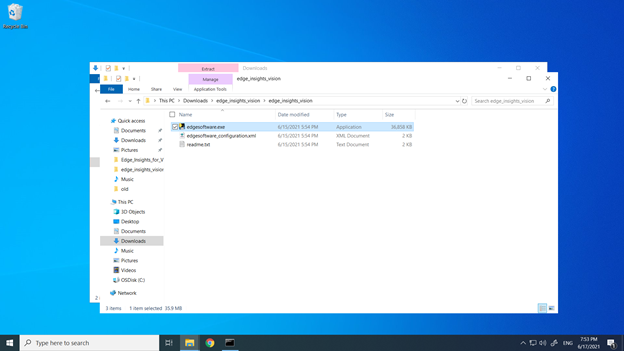
Extract the package by right-clicking the file and selecting Extract all...
Go to the extracted folder: edge_insights_vision
Step 3: Install the Edge Insights for Vision Software
In this step you run a script that downloads components and installs Edge Insights for Vision on your target system.
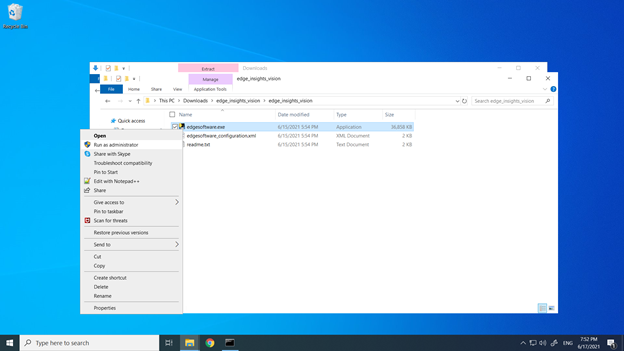
Right-click on the edgesoftware.exe file and select Run as administrator to start the installation.
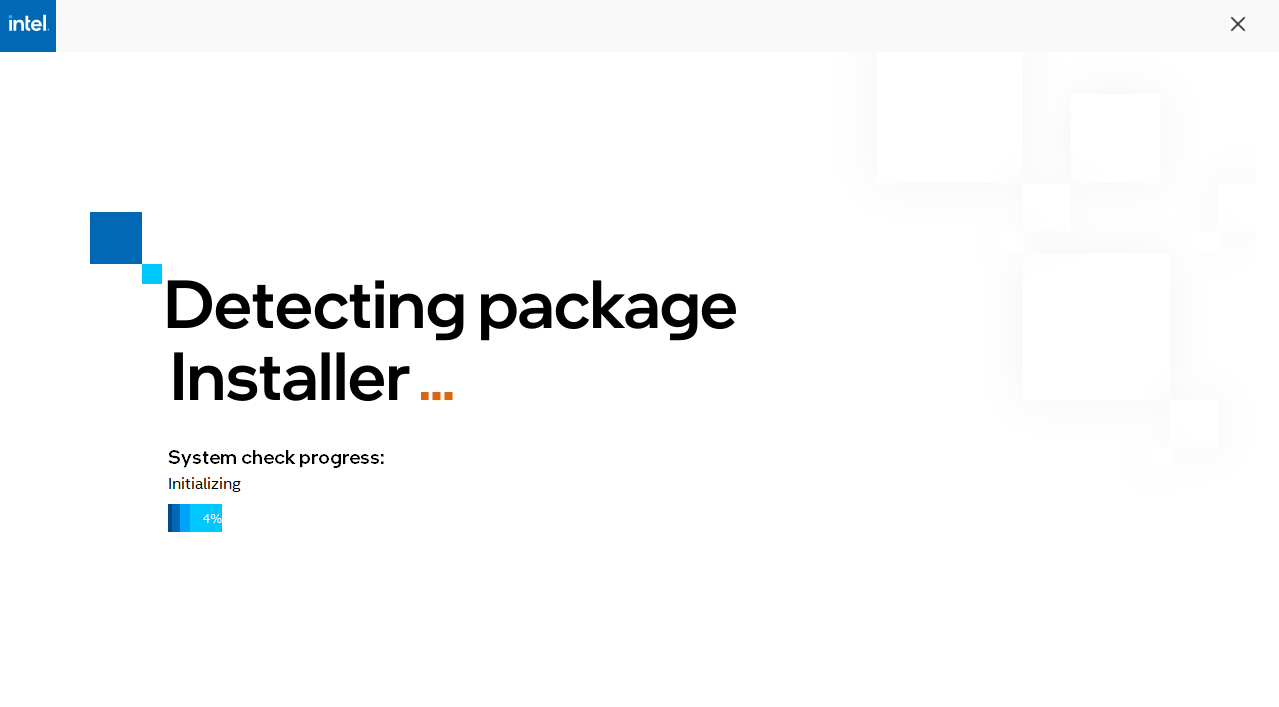
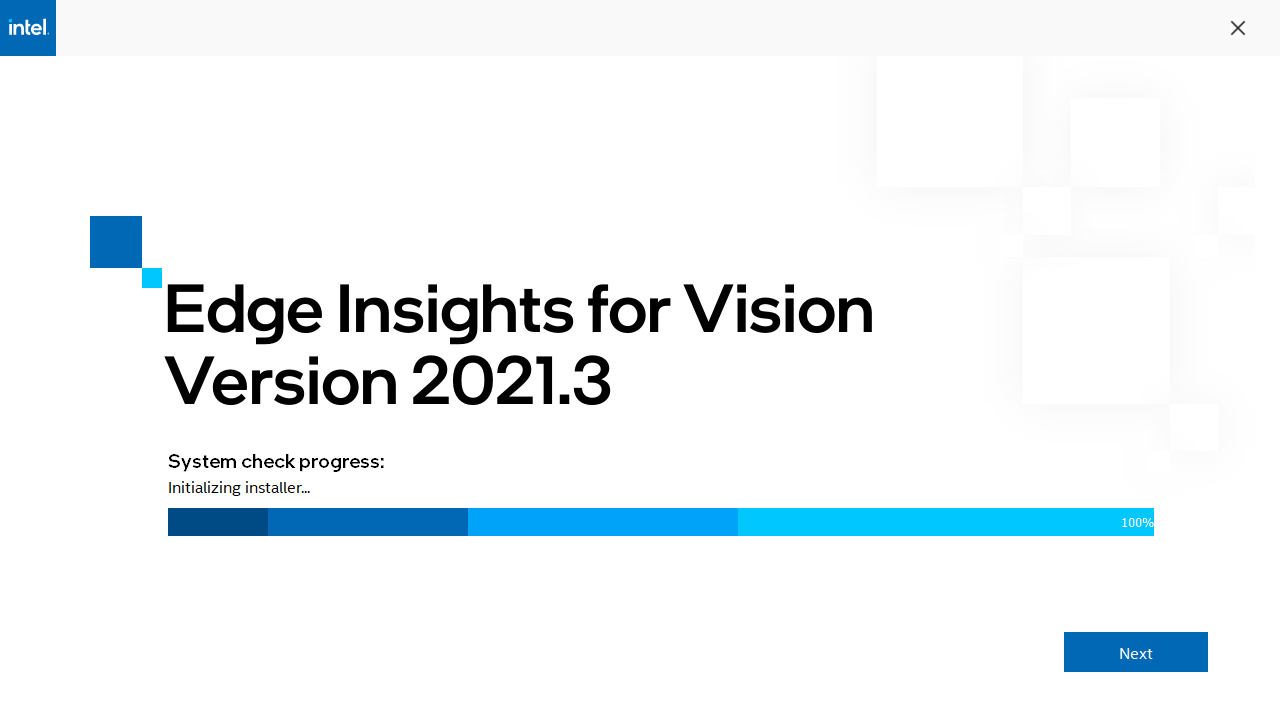
This initiates the system check and installation of prerequisites like Python* 3.8.
 NOTE:If the target system is behind a proxy network, the application will prompt for proxy settings.
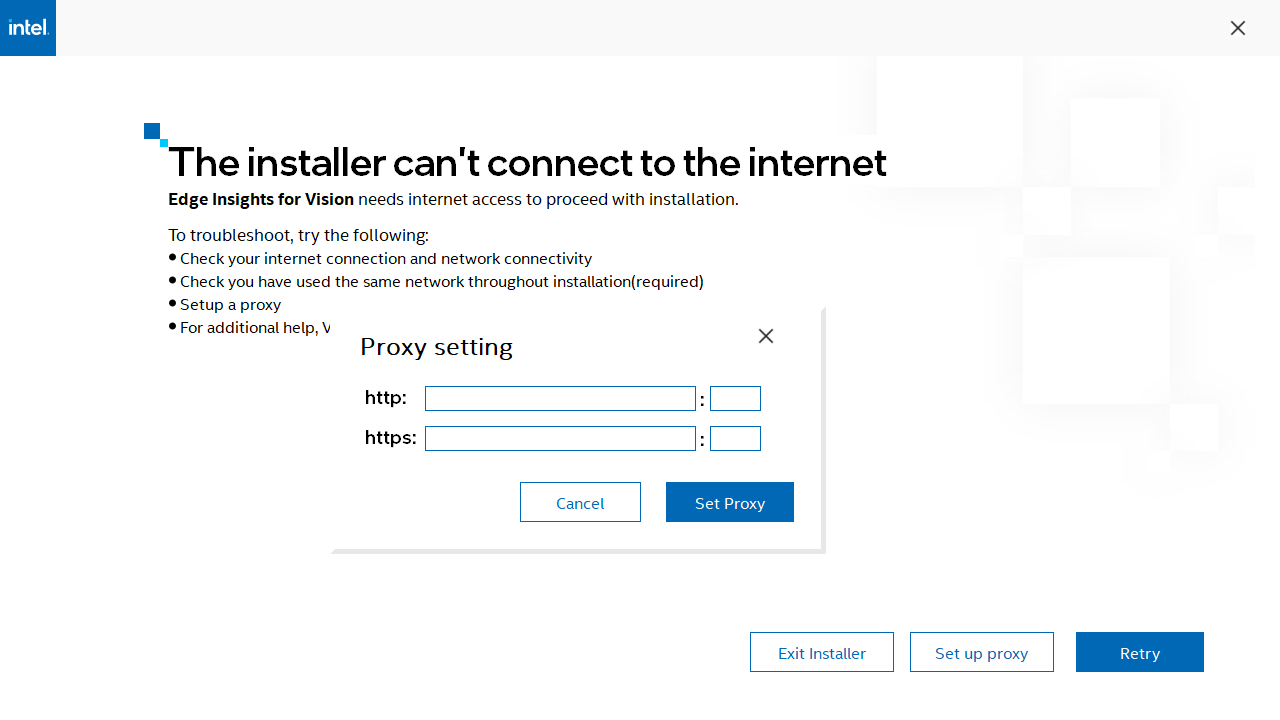
Click on the Set Up Proxy button, add the proxy setting details, and click Set Proxy. Then click the Retry button.
The prerequisite software installation may take up to 15 minutes on a fresh system.
The application will restart automatically (closes and restarts) to set the environment variables if it installs Python and git.
The application may ask for a system restart if it fails to set and get Python and git environment variables.
NOTE:The completion time depends on your target system and Internet connection.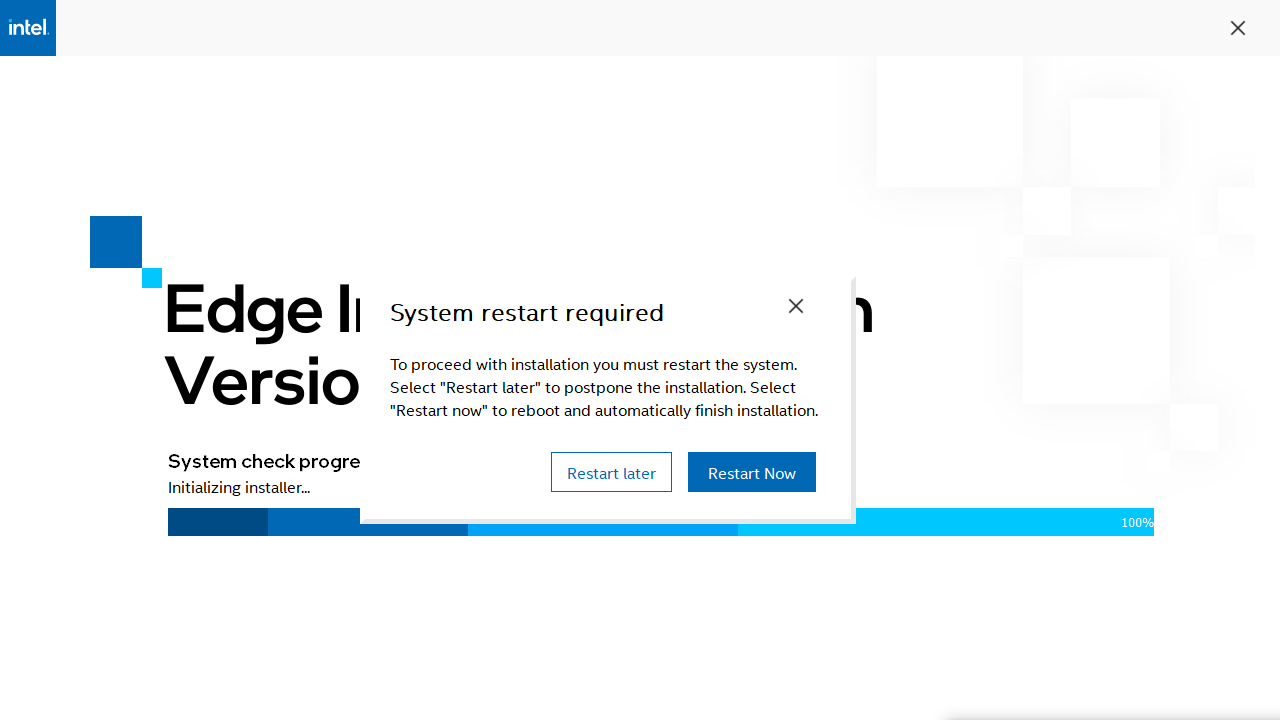
Click the Next button.
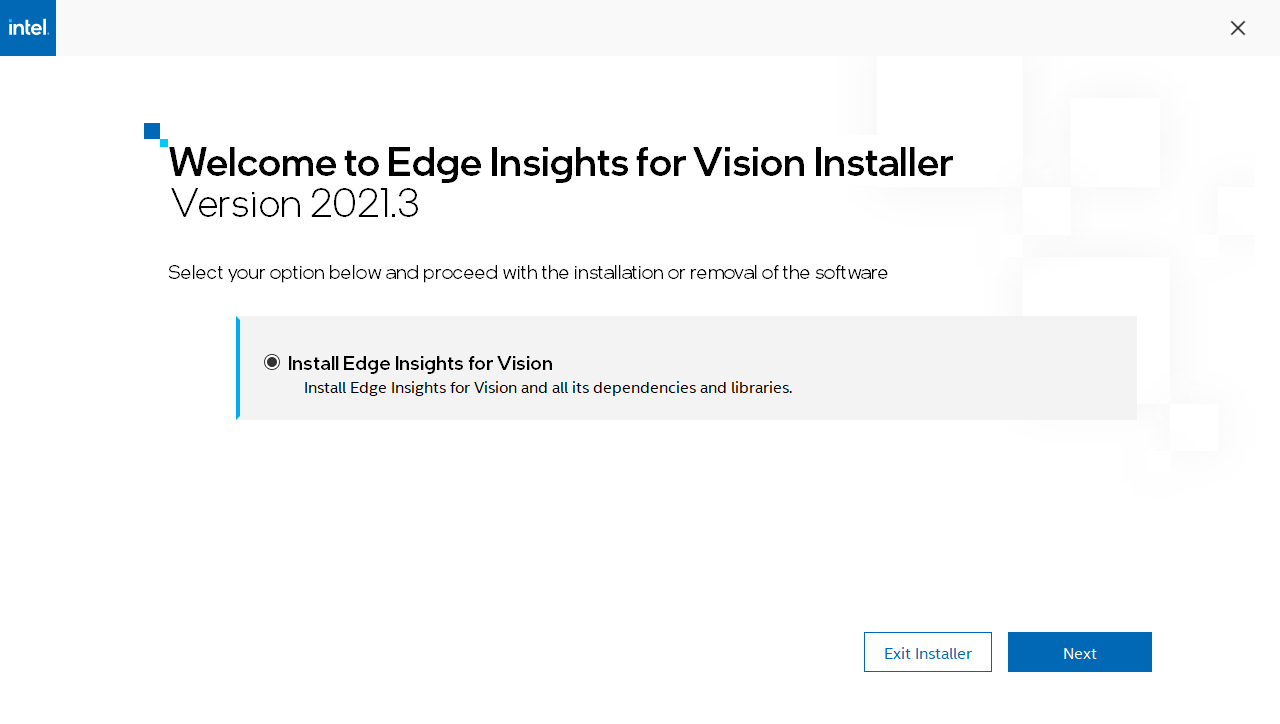
- Select the Install Edge Insights for Vision option and click Next.
 NOTE:During the installation process, edgesoftware starts the prerequisite Docker Desktop application. Make sure Docker Desktop is in the Running state (shown with green status in the GUI). For more details, check Windows* Troubleshooting.
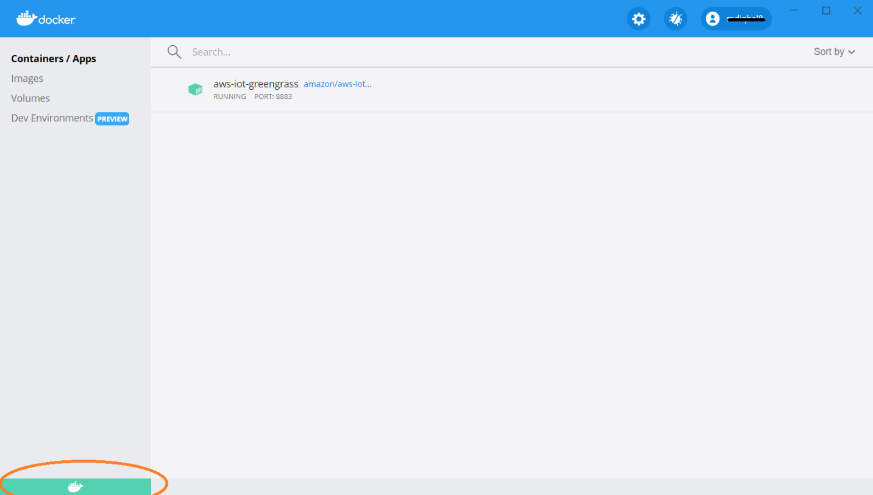
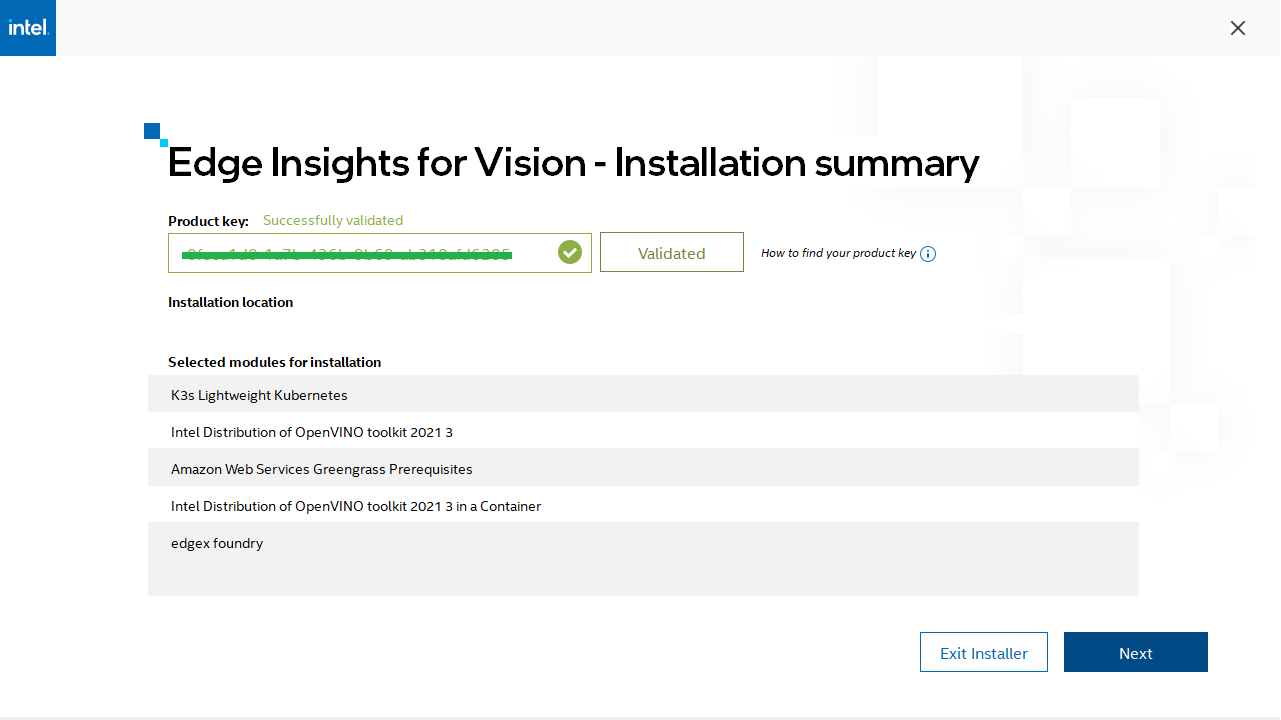
- Enter the product key and click on Validate. Once the product key is validated, click Next.
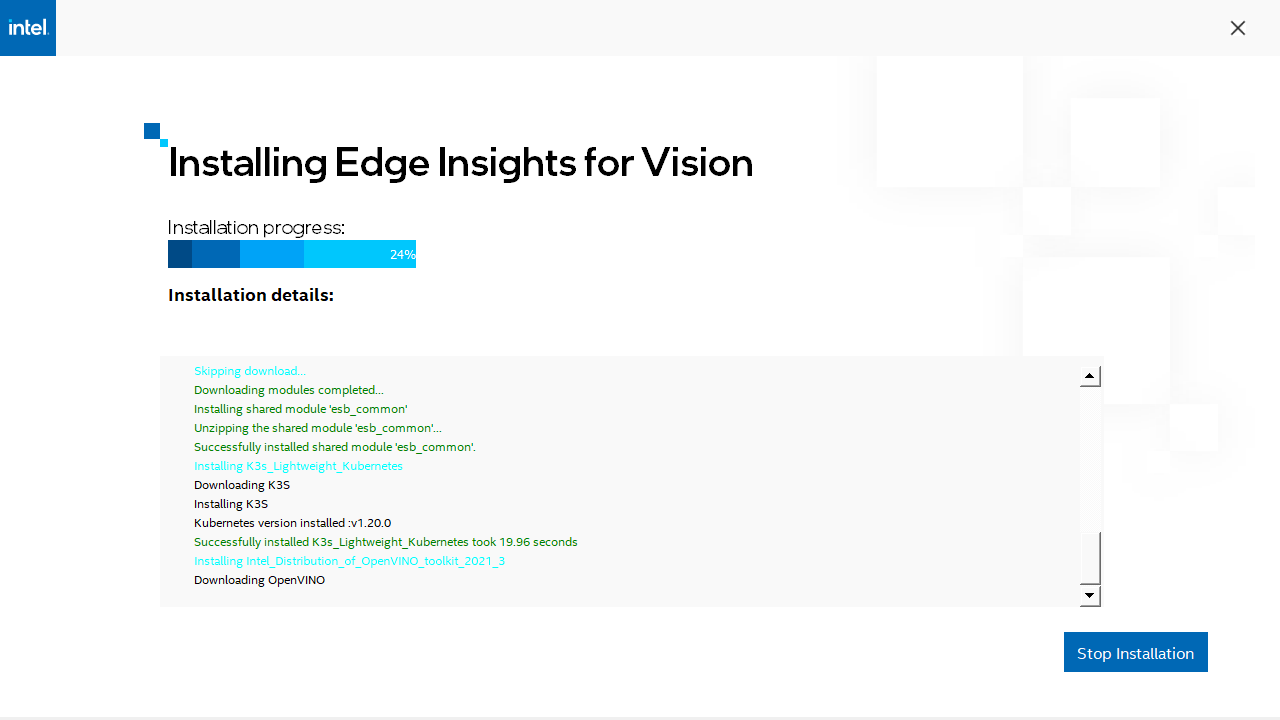
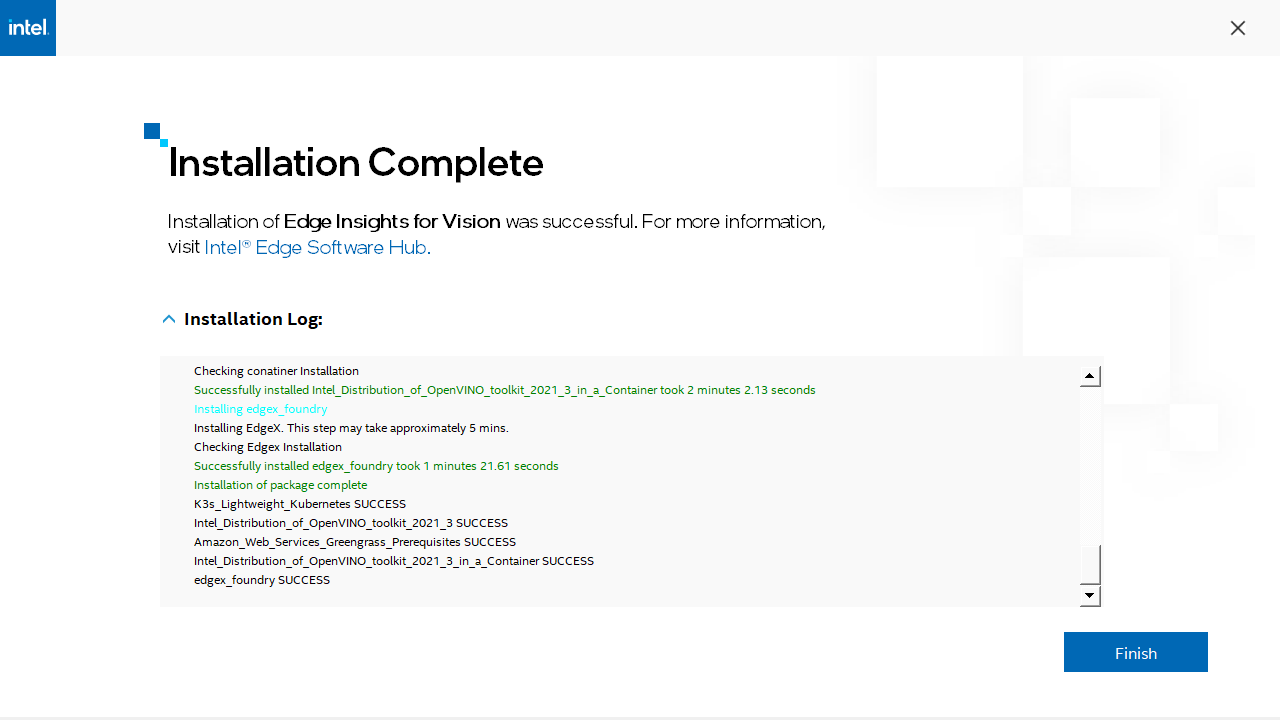
- Installation of Edge Insights for Vision.
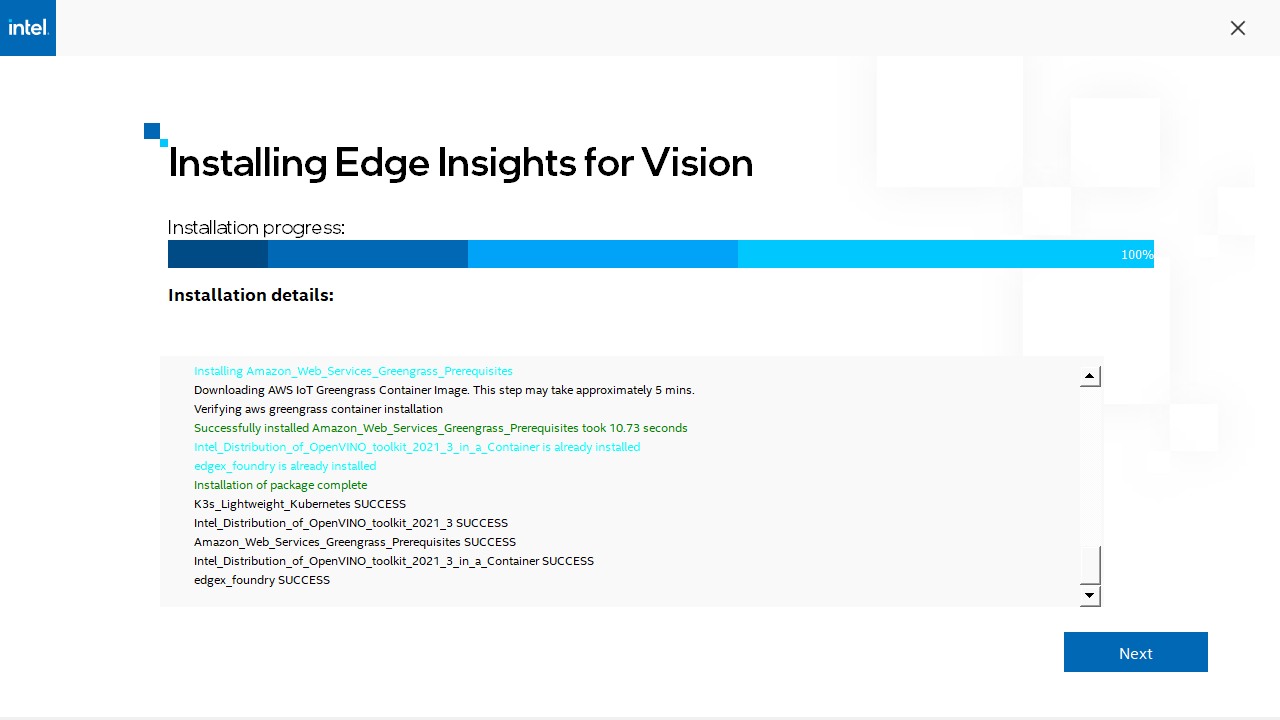
When the installation is complete, you see the message Successfully installed <component> and the progress bar goes to 100%. Click the Next button to complete the installation flow.
- Click the Finish button to close the process.
The installation directory will be C:\Program Files (x86)\Intel\Edge_Insights_for_Vision_<version> where <version> indicates the package version. All the downloaded modules will be placed in this directory. You can run the edgesoftware.exe present in this path for future actions, such as re-installing and uninstalling.
(Optional) Uninstall Edge Insights for Vision Software
Uninstall the installed components of Edge Insights for Vision on your target system using the steps below.
- Go to the extracted folder: edge_insights_vision
- Right-click on the edgesoftware.exe file and select Run as administrator.
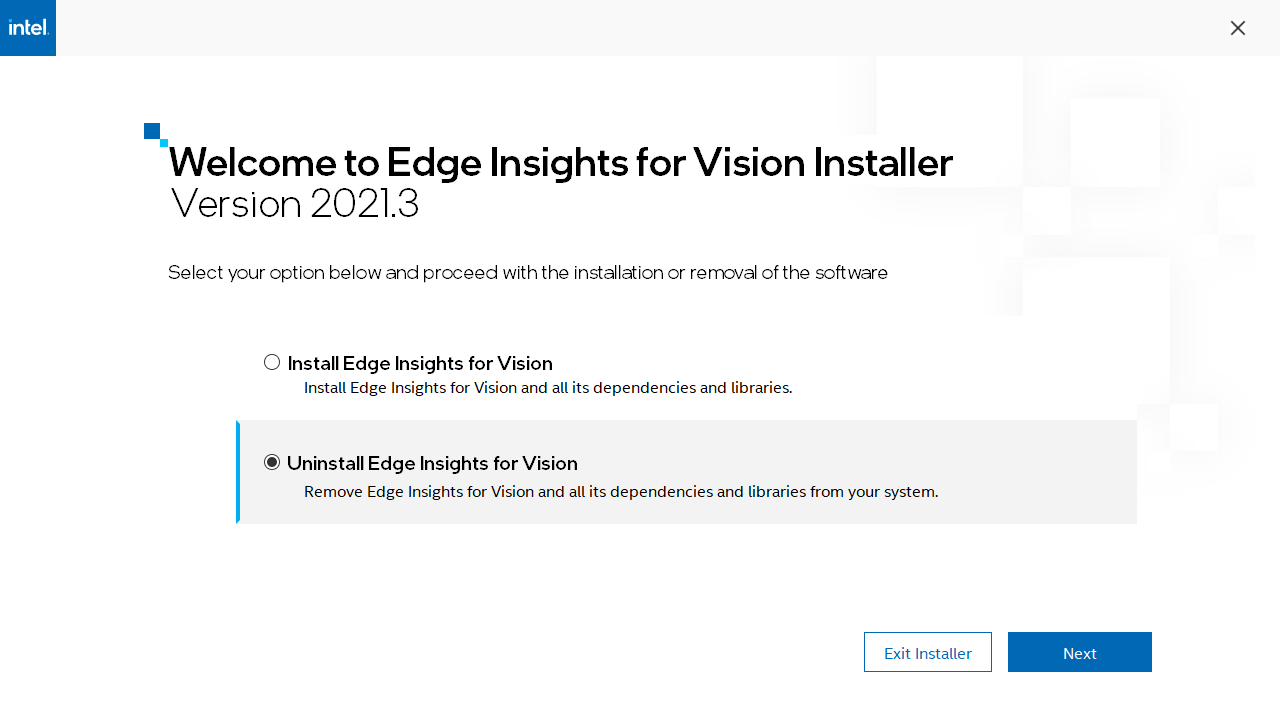
- Once the system check is completed, click the Next button in the Windows Installer UI.
- Select the Uninstall Edge Insights for Vision option and click Next.
A list of components to be uninstalled is displayed.
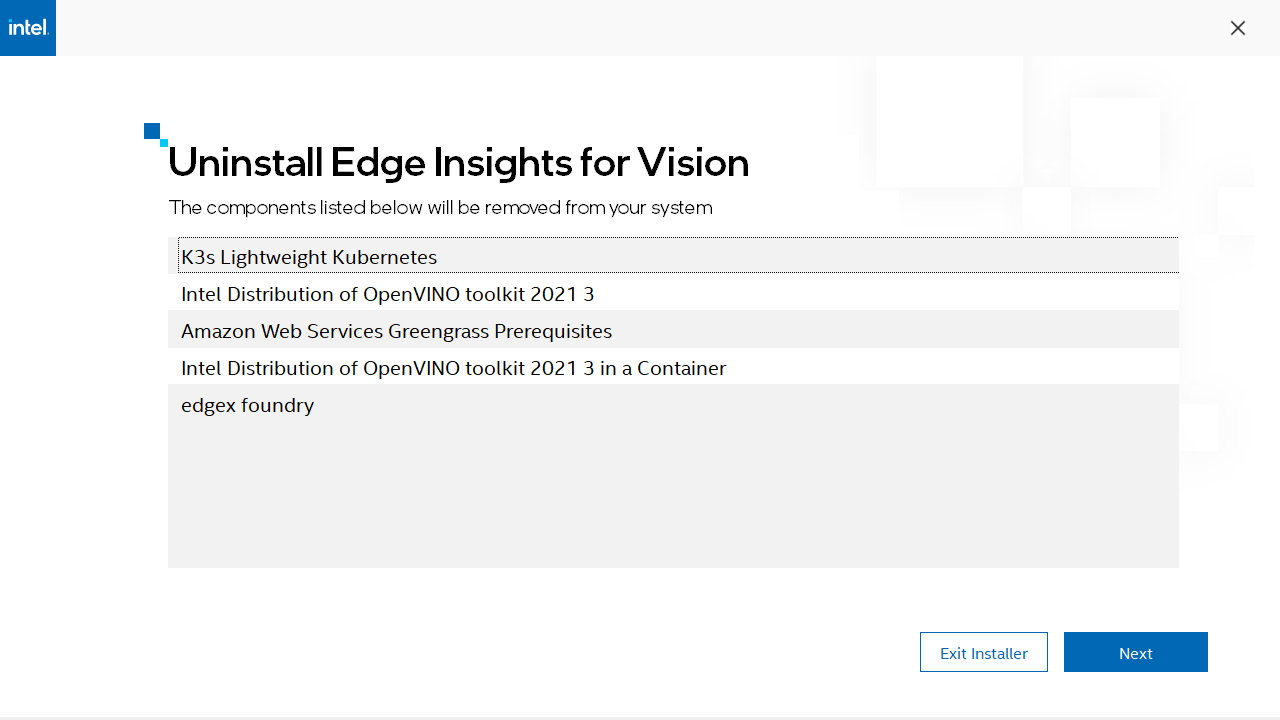
Click Next to open a confirmation dialog. Click Yes, Uninstall to confirm.
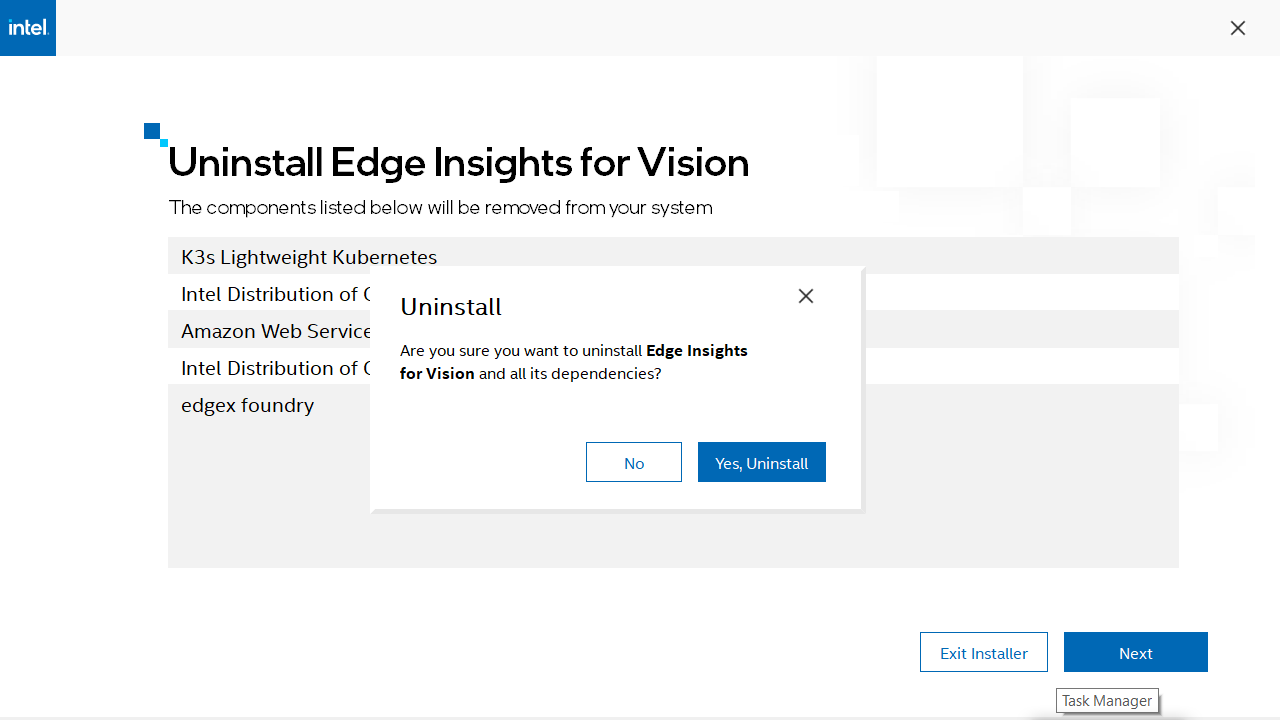
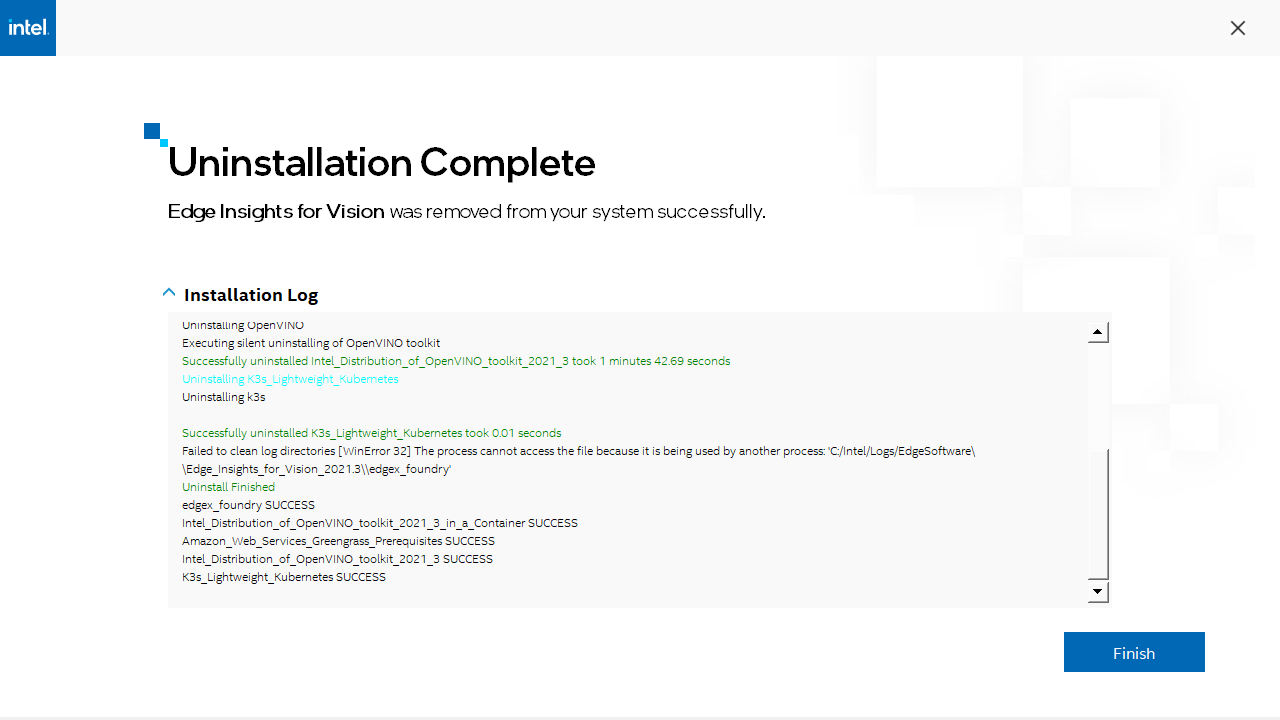
- Confirming the uninstall starts the process.
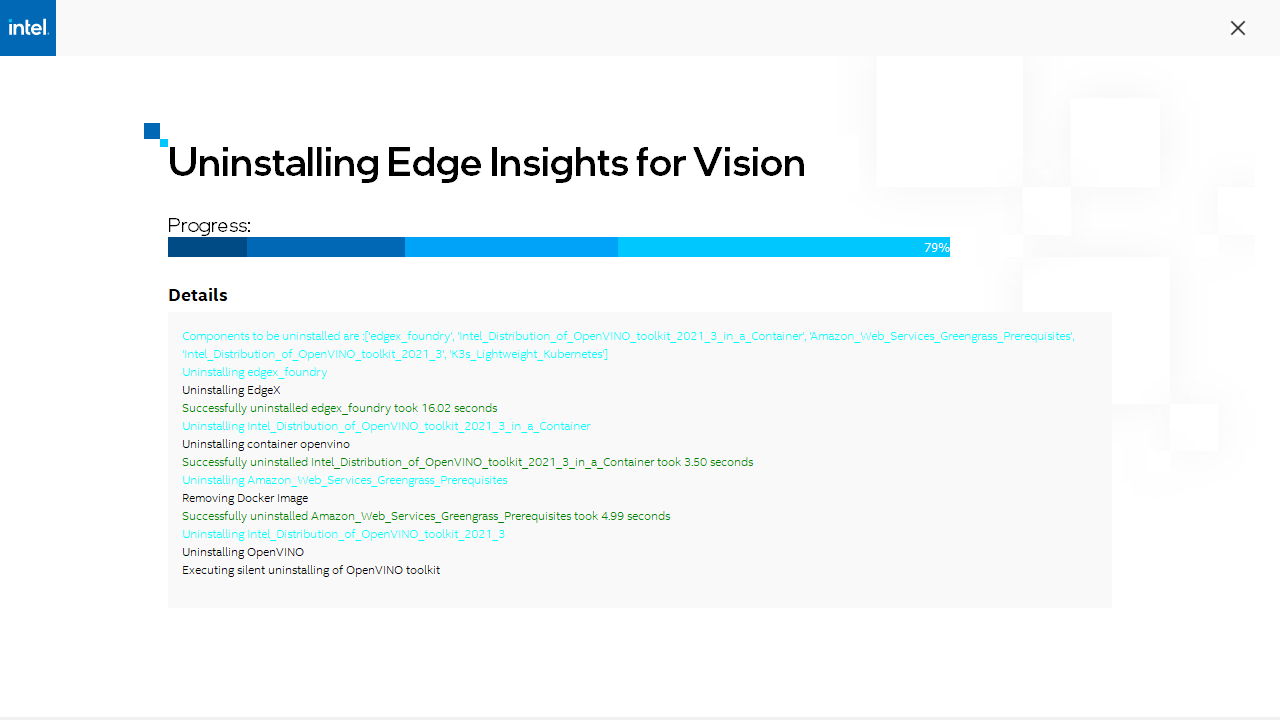
- Once the uninstallation completes and the progress bar shows 100%, select the Next button to complete the flow.
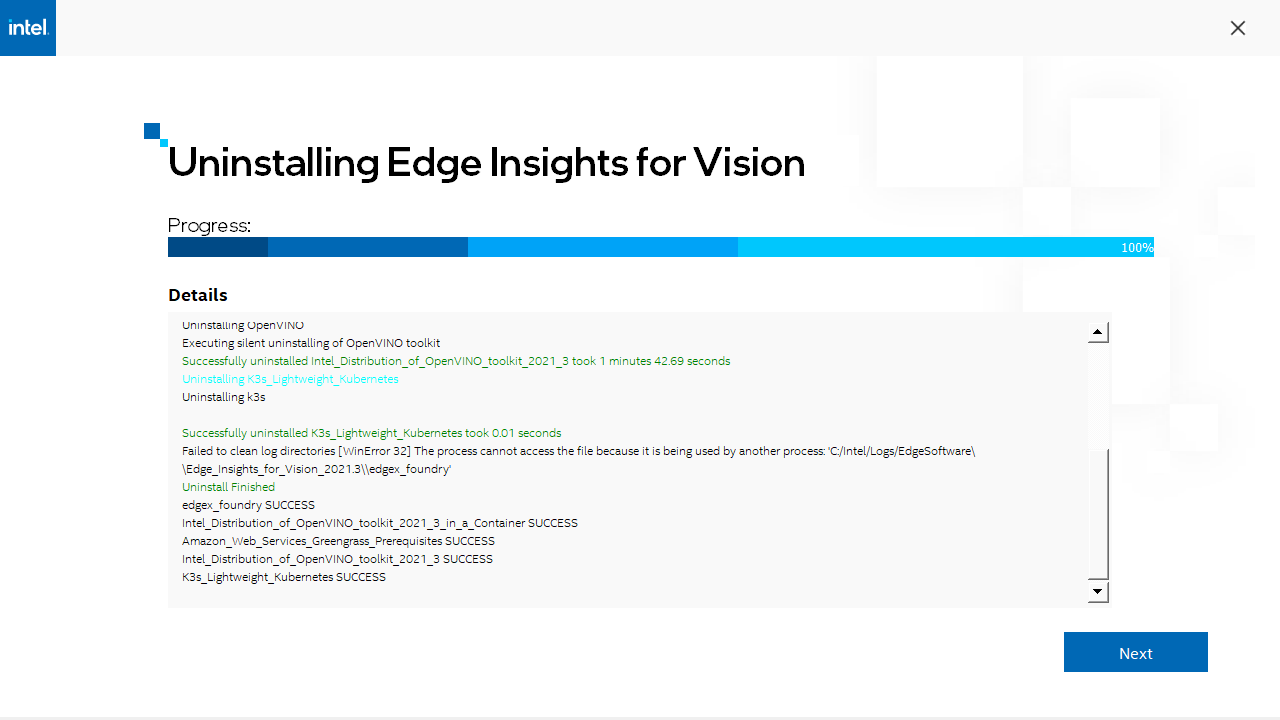
- Click the Finish button to close the process.