Questa* Intel® FPGA Edition Quick-Start: Intel® Quartus® Prime Standard Edition

ID 703090
Date 6/26/2023
Public

1.3. Specify EDA Tool Settings

Perform the following steps to specify EDA Tool Options and generate simulation files for the supported simulators:
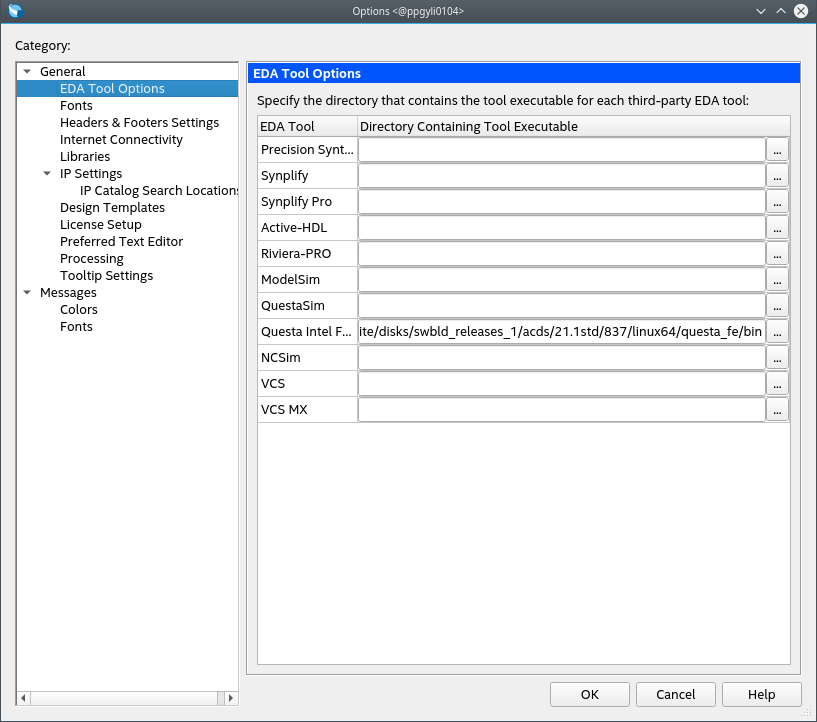
  1. Click Tools > Options > EDA Tool Options to specify the location of your simulator for integration with Intel® Quartus® Prime Standard Edition. The Options dialog displays.
    Figure 2. EDA Tool Settings
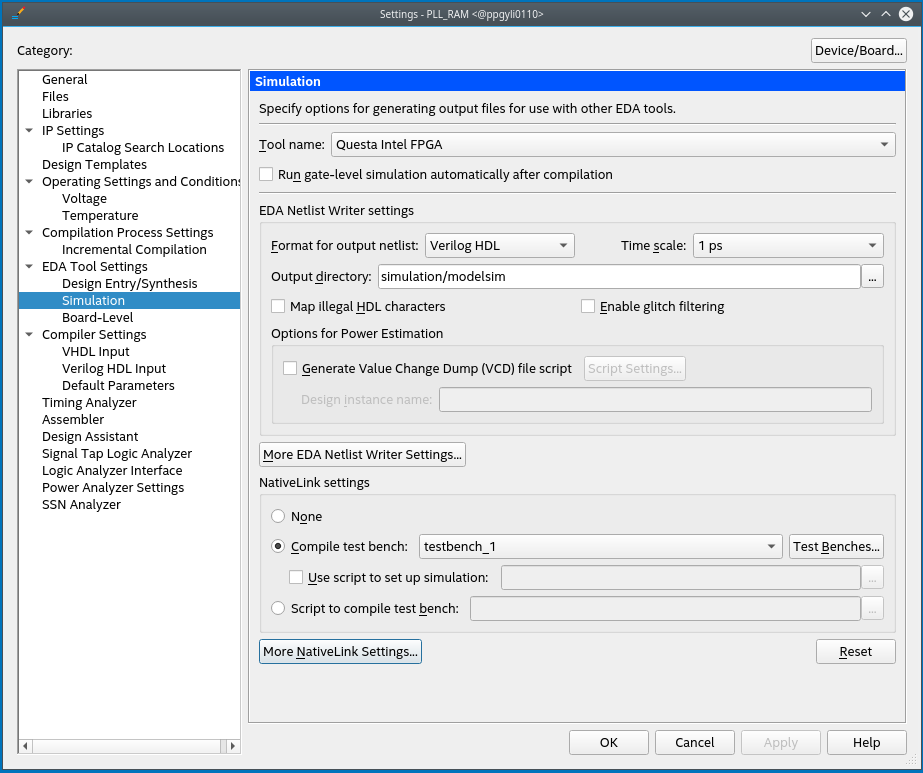
  2. In the Questa Intel FPGA field, enter one of the following Questa* Intel® FPGA Edition executable path:
    • On Linux systems: <installation directory>/questa_fe/bin
    • On Windows systems: <installation directory>/questa_fe/win64
  3. Click Assignments > Settings > EDA Tool Settings > Simulation. Ensure the settings are as shown in the following image:
    Figure 3. Simulation Settings
  4. Under NativeLink Settings, select the Compile test bench option.
  5. Click the Test Benches button.
  6. Click the New option to create a new test bench.
  7. Specify testbench_1 as the test bench name and tb as the top-level module in the test bench.
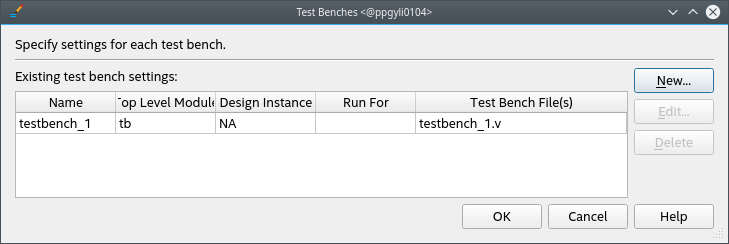
  8. Under Test bench and simulation files, enter or select testbench_1.v file, click Add, and then click OK. The Test Benches dialog displays the properties of the test benches in your project.
    Figure 4. Test Benches Dialog
  9. Click OK to exit Test Benches and Settings dialogs.