Build and Run a Sample Project Using Visual Studio*
Intel® oneAPI Base Toolkit
Intel® oneAPI integrates with third-party IDEs on Windows* to provide a seamless GUI experience for software development.
An internet connection is required to download the samples for oneAPI toolkits. For information on how to use this toolkit offline, see Developing with Offline Systems in the Troubleshooting section.
You can use the Intel® oneAPI DPC++/C++ Compiler within the Microsoft Visual Studio* integrated development environment (IDE) to develop C++ applications, including static library (.LIB), dynamic link library (.DLL), and main executable (.EXE) applications. This environment makes it easy to create, debug, and execute programs. You can build your source code into several types of programs and libraries using the IDE or from the command line.
The IDE offers these major advantages:
- Makes application development quicker and easier by providing a visual development environment.
- Provides integration with the native Microsoft Visual Studio* debugger.
- Makes other IDE tools available.
Create a Project Using Microsoft Visual Studio*
To watch a video presentation of how to create a project, see Intel® oneAPI Visual Studio Samples Browser.
- Open Microsoft Visual Studio*.
- For Visual Studio 2019 and 2022, a page may display showing recent projects. Click Continue without code.
NOTE:In the next step, you will look for a menu named Extensions > Intel or Intel. If you do not see either of these menu choices, then the plug-ins have not been installed. See Troubleshooting to fix the plug-ins.
- From the top menu, select:
- Visual Studio 2019 and 2022: Extensions > Intel > Browse an Intel oneAPI Sample
The samples screen will open:
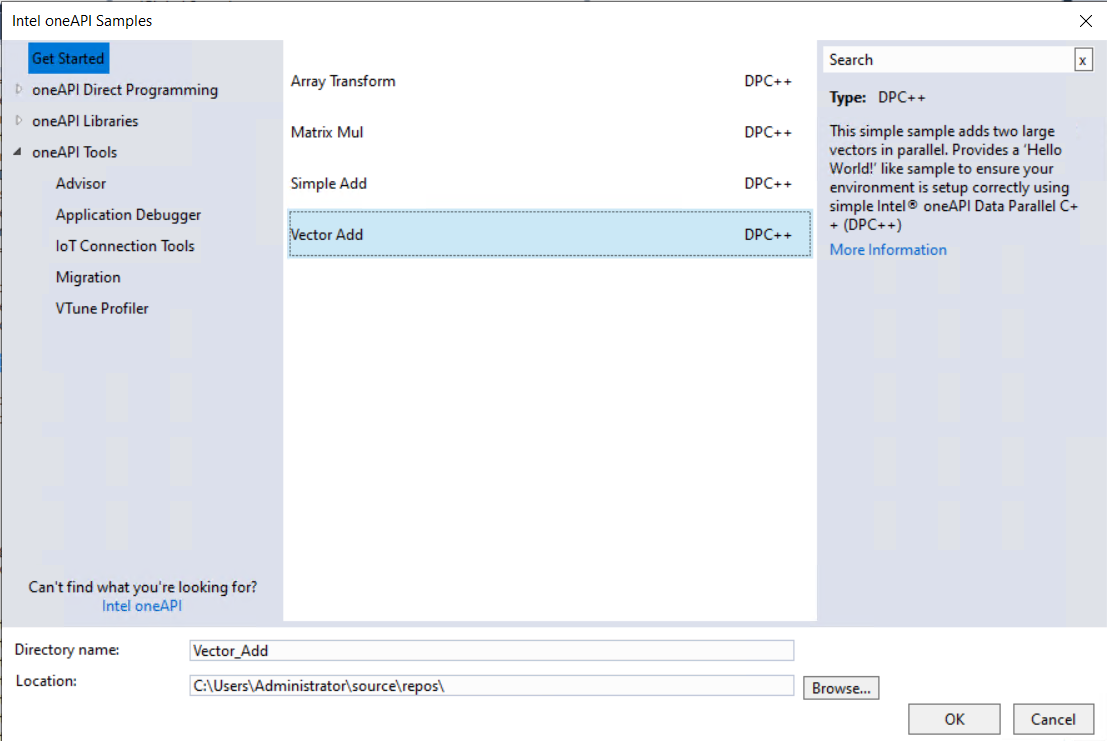
- In the center area, select Vector Add. Vector Add is a simple test application that will help verify that the tools are setup correctly and can access your system's GPU.
- Click OK.
- From the Solution Explorer, right-click on vector-add and select Rebuild.
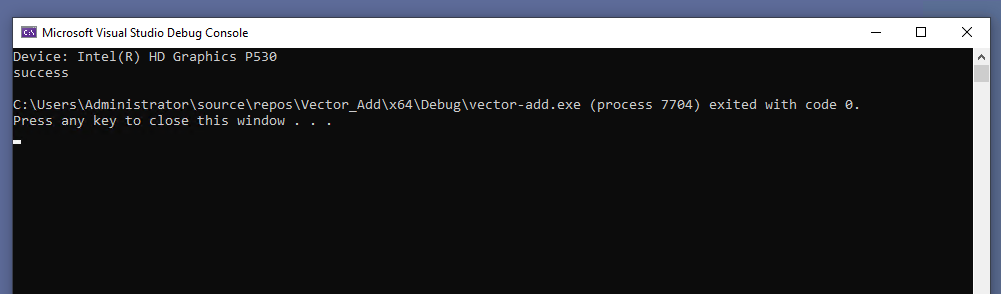
- After the program is built, click Debug > Start Without Debugging. The results will display: