Before upgrading an EMA Server, it is recommended to leverage restore or snapshot options available through virtualization software or cloud service providers (such as AWS*, Azure*, GCP*). Consult the software or the cloud solution provider for more information.
Upgrade process
- Log in to each Intel EMA server using an account that is an administrator on the Windows* server and has database owner (DBO) access to the EMA database.
On each Intel EMA server, stop Intel EMA services.
- Open PowerShell* as administrator
- Stop World Wide Web Publishing Service
- Type: Stop-Service W3SVC
- Type: Stop-Service PlatformManager
- Type: Get-Process EMA* | Stop-Process -Force
Back up the Intel EMA Database
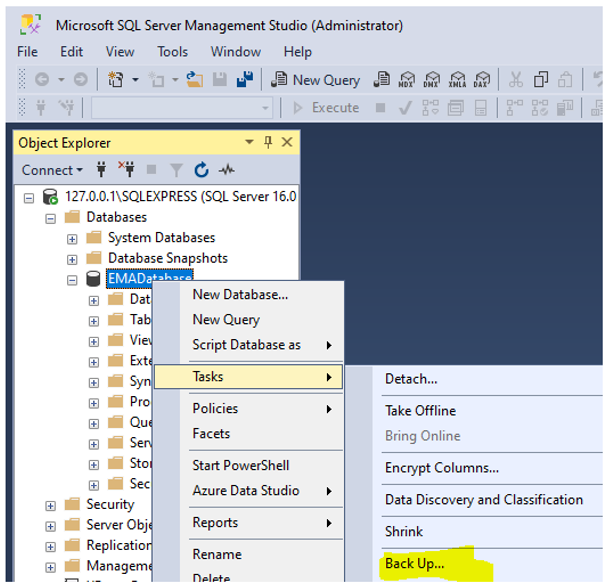
- Launch SQL Server Management Studio and connect to your SQL database.
- Navigate to the Databases folder.
- Right-click on the EMADatabase (this is the default database name), and select Tasks > Back Up
- In Destination, click Add and use the default path, appending a unique name.
- Example: C:\Program Files\Microsoft SQL Server\MSSQL16.SQLEXPRESS\MSSQL\Backup\EMADatabasebackupdate.bak
- Click OK to complete the backup.
Optionally:
Transfer logins and passwords between instances of SQL Server
Back up the MeshSettingsCertificates
- From one of the servers, in Windows, launch Manage Computer Certificates.
- Navigate to Certificates - Local Computer > Personal > Certificates.
- Select the files below:
- EmaMtlsAjax-XXX
- EmaMtlsManageability-XXX
- EmaMtlsRecovery-XXX
- EmaMtlsSwarm-XXX
- EmaMtlsWeb-XXX
- MeshSettingsCertificate-XXX
- EmaPlatformManagerTls
- Right-click, select All Tasks > Export. Certificate Export Wizard opens.
- Click Next, choose Yes, export the private key, check Export all extended properties, and Enable certificate privacy.
- Set a password and specify the name/location for the exported file in PFX format.

Update to the latest version of Intel EMA
- Close Platform Manager (if still open).
- Ensure .NET 4.8 is installed on each server.
- Download the latest version of Intel EMA: Intel® Endpoint Management Assistant (Intel® EMA)
- Execute the downloaded .exe to extract files to a folder on each Intel EMA server.
- On each server:
- In the extracted folder, right-click on EMAServerInstaller.exe and select Run as administrator.
- Select the first option, Install or Update Intel® EMA server on this machine.
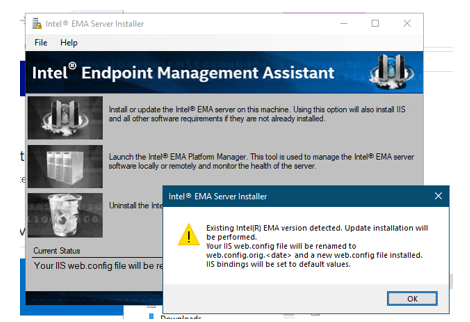
- Click OK.
- Click through the dialogs in the installation wizard - leaving default values for each.
- Allow several minutes after installation completes for Intel EMA services to start and for endpoints to reconnect to the server.
- Verify the World Wide Web Publishing Service is running
- Open PowerShell* as administrator
- Get-Service W3SVC
- Start-Service W3SVC
- Test: Log into the EMA web interface and ensure endpoints are connected and can be managed in and out of band.
| Note | If the EMA website fails to open, go to IIS Manager and double-check that the correct user is running the EMA application.
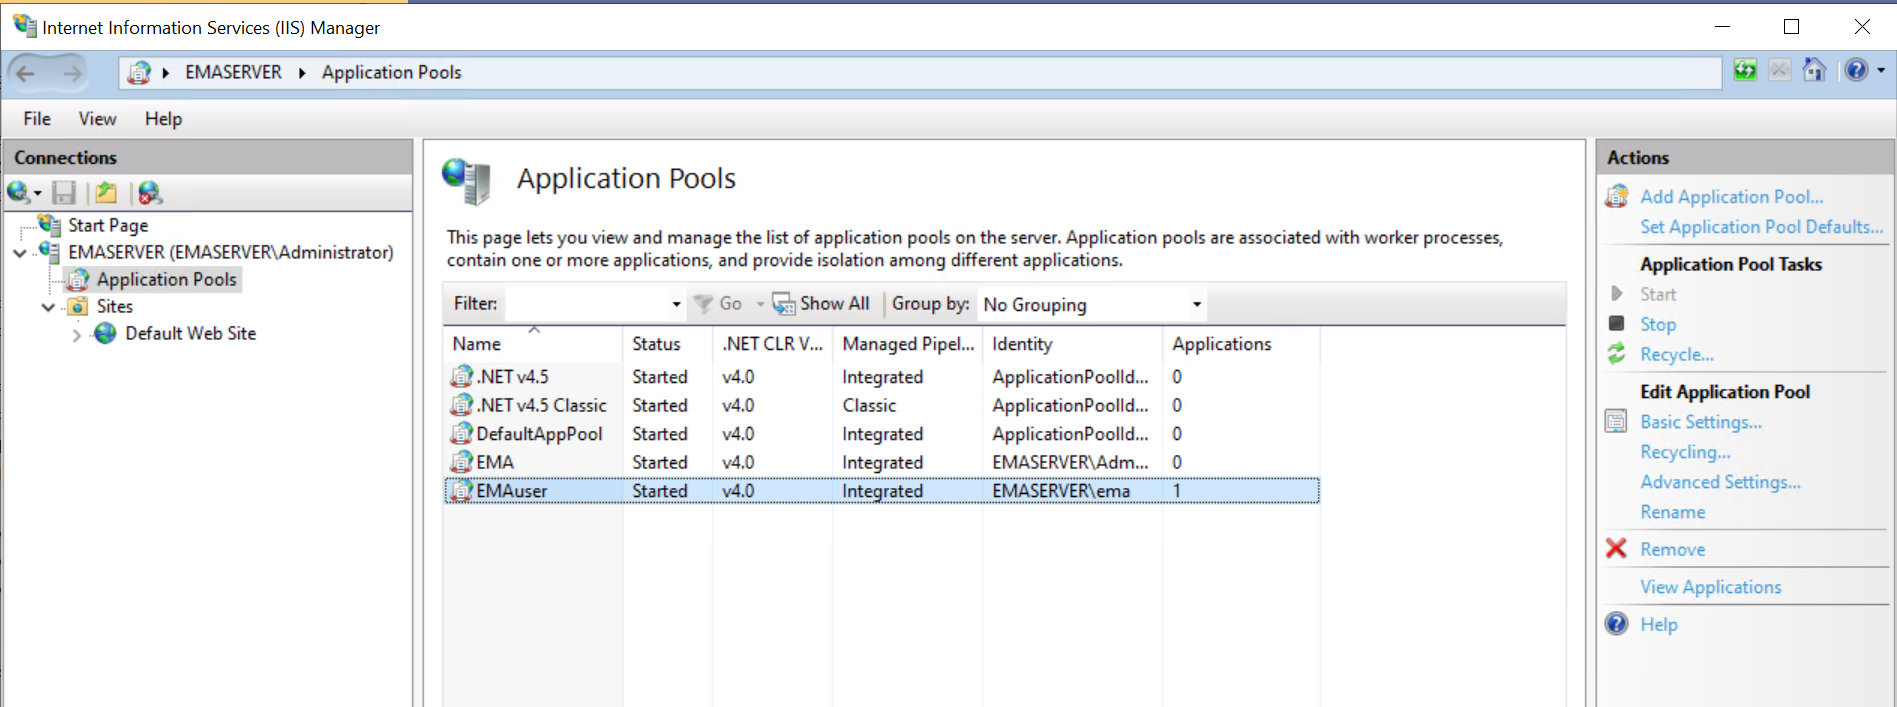
|