How to Create a Certificate Chain PFX File for Intel® EMA
Content Type: Troubleshooting | Article ID: 000099677 | Last Reviewed: 11/28/2024
The certificate vendor has provided CRT files only. This article guides you through the process of converting these files into a PFX file format, which is necessary for Intel® EMA configuration.
Step 1: Create the private key file and send it to the Certificate vendor. Follow the instructions provided in the How to Purchase Certificate Chain manuals, which can be found at the bottom of the Intel® AMT support page.
Vendor Certificates to Support Intel® AMT
Step 2: Once you receive the certificate files from the vendor (typically 1 to 3 files), you will need to merge them into a single PFX file. This can be done using OpenSSL, an open-source tool, or a custom tool provided by the certificate vendor.
Download OpenSSL from the following link:
Win64 OpenSSL v3.3.2
Refer to this video for OpenSSL installation instructions:
OpenSSL Installation Instructions Video
Step 3: Combine the certificate files into a PFX file using the following OpenSSL command:
openssl pkcs12 -export -out <Name_of_Certificate_Chain>.pfx -inkey <Certificate_Private_Key.crt> -in <Root_Certificate.crt> -certfile <Intermediate_Certificate.crt>
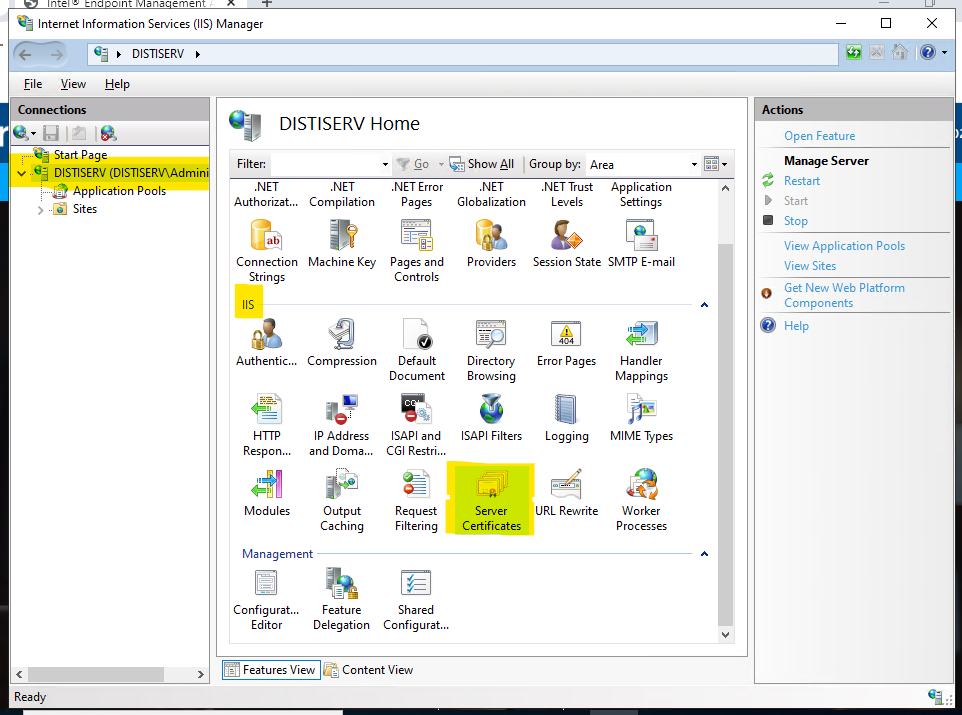
Step 4: Import the PFX file into Internet Information Services (IIS) for use with the EMA website:
Navigate to the Server Certificates section in IIS, and select Import from the right-hand menu. Locate the PFX file, enter the password, and ensure the certificate is stored in the Personal certificate store. Check Allow this certificate to be exported and click OK.
Step 5: Restart the EMA server to apply changes.
Step 6: Finally, upload the new PFX file to the EMA web console:
Navigate to the Settings tab, click the Upload button, select the PFX file, and provide a name and password for the certificate. Save the changes to complete the setup.