How To Enable Extended Desktop Mode in the Intel® Graphics Control Panel
Content Type: Install & Setup | Article ID: 000089894 | Last Reviewed: 11/23/2022
The following will include the instructions on how to enable Extended Desktop Mode in 6th generation or older systems still using the Intel Graphics Control Panel.
| Note | This article only applies to systems still running the Intel® Graphics Control Panel, which is intended only for 5th Generation systems and older. If you have a newer system, see the instructions for Enabling Extended Desktop Mode in the Intel Graphics Command Center. |
With extended desktop mode, you can get a larger Windows* desktop area spanning multiple displays. You can move applications from one display to the other.
All Intel® graphics products support extended desktop mode across two displays.
To enable extended desktop mode in the Intel® Graphics Control Panel:
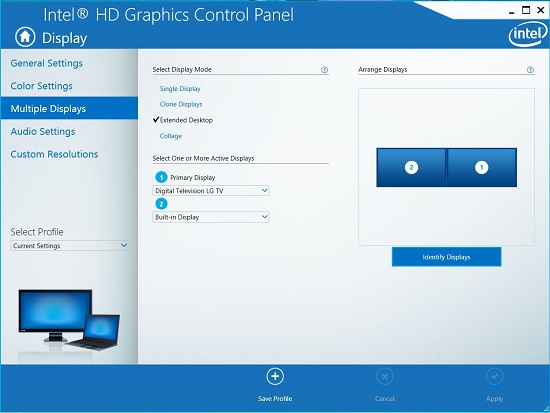
For some systems with third generation or newer Intel® Core™ Processors, three-display support is available. After completing the previous steps:
Use the Arrange Displays window. Use your mouse to move the displays in a different arrangement.
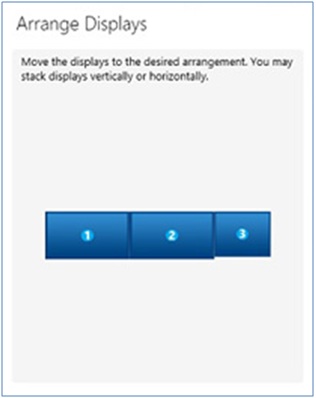
Click Apply to save changes.
| Note | You must have three monitors connected to see all three drop-down menus. |