Run Intel® OSPRay Studio
This walkthrough demonstrates how to run the Intel® OSPRay Studio application. Intel OSPRay Studio is a showcase application included in the Intel® oneAPI Rendering Toolkit (Render Kit). It is an interactive and extendable ray-tracing application.
Prerequisite: Configure your system.
To run the application:
- Open a command prompt.
- Set up environment variables:
call "C:\Program Files (x86)\Intel\oneAPI\setvars.bat"NOTE:If you installed the Render Kit to a custom location, make sure to replace C:\Program Files (x86)\Intel\oneAPI\ with the custom installation path before running the command. - Go to a writable directory and create a directory to store supporting and result files. For example, create the rk_gsg folder :
cd %USERPROFILE%mkdir rk_gsgcd rk_gsg - Run Intel OSPRay Studio:
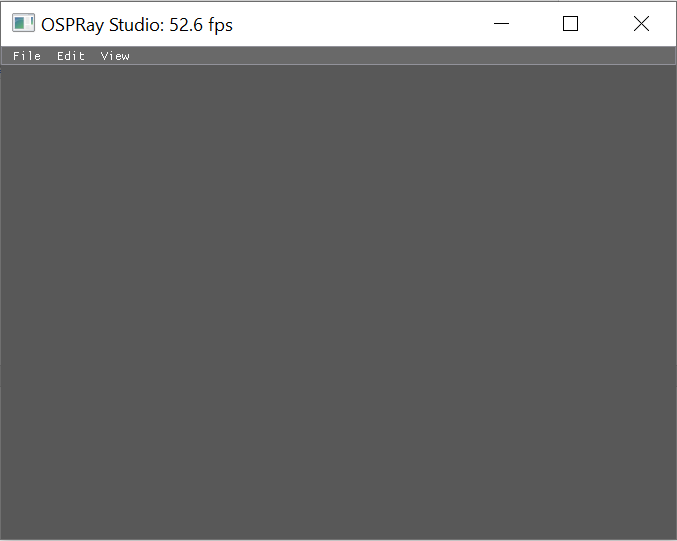
ospStudio.exeYou should see an interactive rendering window:
- In the rendering window, go to File > Demo Scene and select one of the predefined demo scenes.
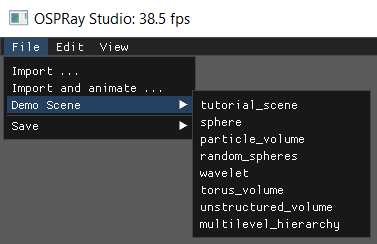 NOTE:Some scenes demonstrate Intel® Open Volume Kernel Library integration capability.
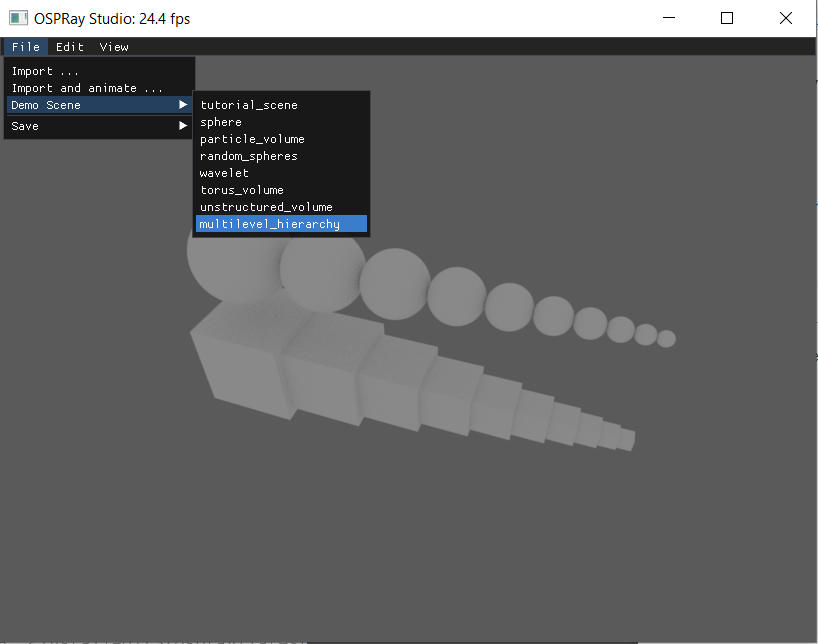
 - Review the selected scene. For example, the Multilevel Hierarchy demo looks as follows:
You can control the scene view with a mouse as follows:
- Right-click to move the camera in and out from the look-at point.
- Left-click to rotate.
- Scroll the mouse wheel to zoom in and out.
- Drag and drop to move the camera.
You can also use the following keyboard controls:
- UP/DOWN: Move the camera along the Z axis (in and out).
- ALT+UP/ALT+DOWN: Move the camera along the Y axis (up or down).
- LEFT: Move the camera to the left along the X axis.
- RIGHT: Move the camera to the right along the X axis.
- W/S: Change camera elevation.
- ALT+S: Save a frame as a file to a local directory.
- A/D: Change camera azimuth.
- ALT+A/ALT+D: Change camera roll.
- G: Show/Hide the user interface.
- Q: Quit the application.
- P: Print a scene graph to the shell.
- M: Print a material registry to the shell.
- B: Print frame bounds.
- V: Print camera parameters to the shell.
- =: Push a location to save camera parameters.
- -: Pop a location to save camera parameters.
- 0-9: Set a camera snapshot.
- Hold X, hold Y, hold Z: Keep axis constrained for camera movement.
- You can save output image from Menu > Save... > Screenshot in a preferred image format. The image is saved to the working rk_gsg directory as studio.<NNNN>.
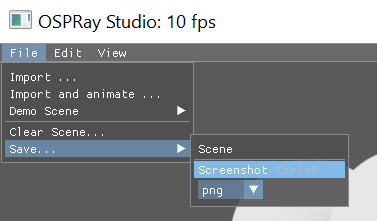
- You can review the saved screenshot with your preferred image viewer.
Next Steps
- Run pre-compiled sample applications for other Render Kit components.
- See Next Steps for more resources.
Parent topic: Run Pre-Compiled Sample Applications