Get Started
Follow these steps to launch your development environment and begin working with your Intel® Quark™ Microcontroller Developer Kit D2000.
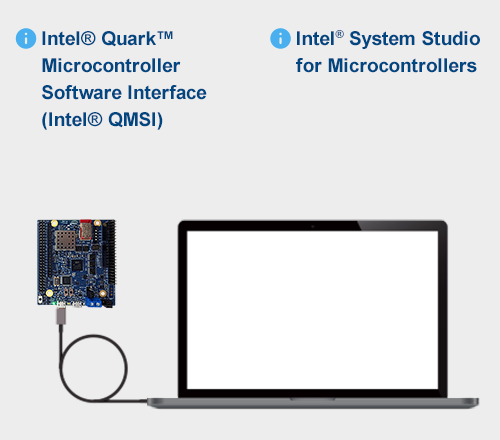
Intel® Quark™ Microcontroller Software Interface (Intel® QMSI) is an open-source hardware abstraction layer for Intel® Quark™ microcontroller products. It provides drivers, sample applications and gives access to internal peripherals via a consistent API for both bare-metal and Zephyr Project™ applications.
Intel® System Studio for Microcontrollers is an Eclipse*-integrated software development environment designed specifically to enable development on Intel® Quark™ microcontroller-based developer boards.
Step 1. Prepare Your Hardware
A. Make sure you have everything you need
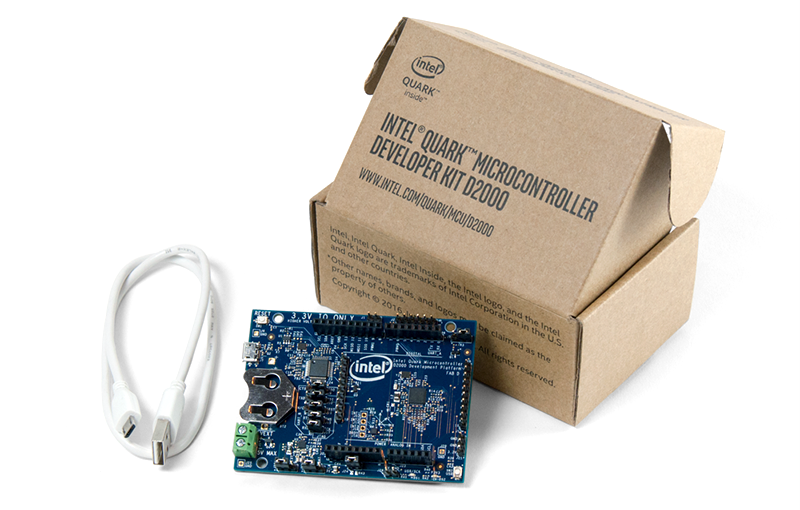
- D2000 developer board
- Micro USB to USB cable
B. Connect your developer board to your PC via USB
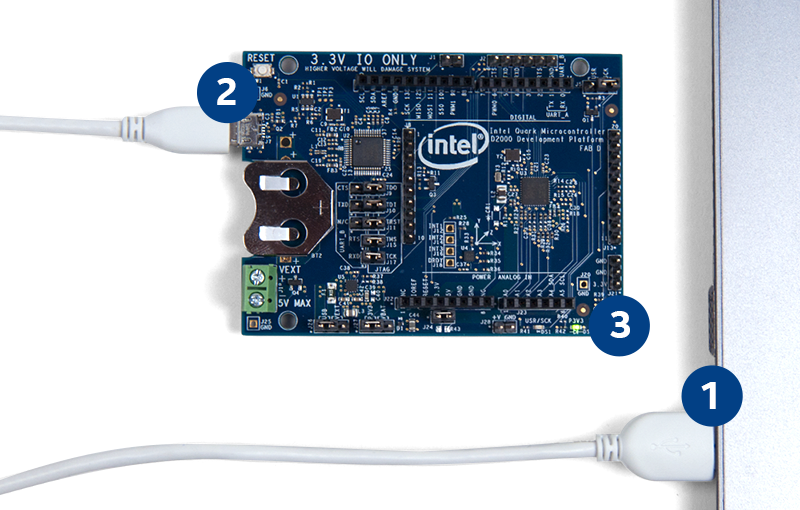
 Connect USB end to your PC
 Connect Micro USB to the developer board
 The green LED confirms connection
Step 2. Install the Development Environment
A. Download Intel® System Studio for Microcontrollers development environment
B. Install Intel® System Studio for Microcontrollers
- Make sure that your D2000 board is still connected
- Extract the contents of the archive to a directory with write access
- Run installation “as a current user”
tar -xvf l_cembd_mv_XXX
./l_cembd_mv_XXX/install_GUI.sh
Note - the default installation directory is:
- For sudo/root: /opt/intel/issm_2016.1.0XX
- For current user: ~/intel/issm_2016.1.0XX
C. Install the OCD driver to enable serial output
Install the provided udev rules to allow access to the microcontroller using OpenOCD. The following paths are the default used by the installer:
Sudo/root installation:
/opt/intel/issm_2016.1.0XX/tools/utils/install_driver.sh
Installation as current user:
~/intel/issm_2016.1.0XX/tools/utils/install_driver.sh
Note: if you changed the installation path, you’ll need to update the paths accordingly
D. Set user permissions for serial port usage
To reliably access serial devices, it is best to add your user to the `dialout` Linux* group. Alternatively, you can install and run the development environment as admin or sudo. The following will work on most Linux* distributions:
sudo usermod -aG dialout <your-user>
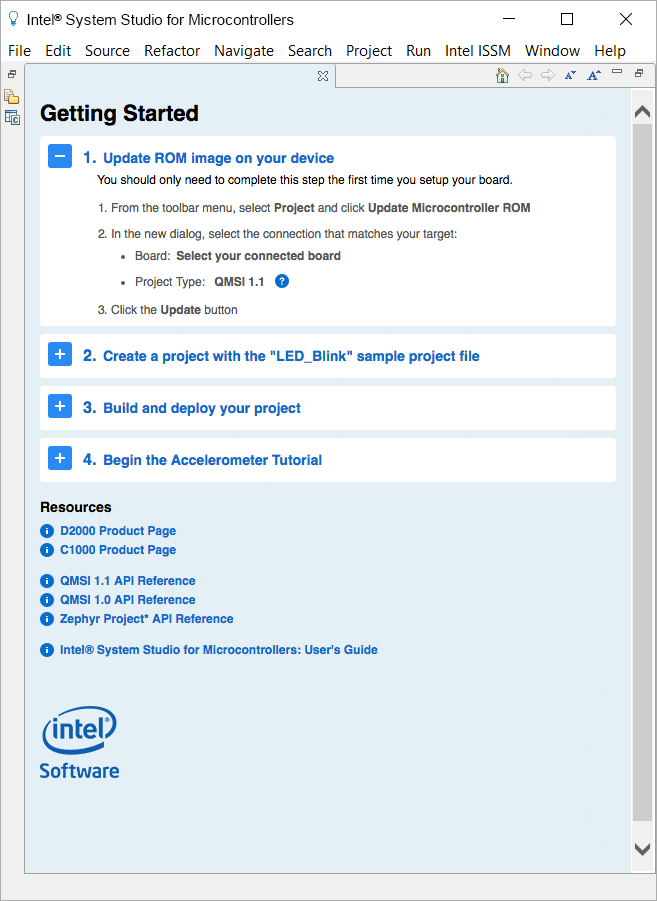
E. Launch the development environment and follow the Getting Started instructions on the welcome page:
- Launch the IDE in the installation directory: iss_mcu_ide_eclipse-launcher
- Intel® System Studio for Microcontrollers will then launch. Follow the instructions from there to get the blinking light sample application working.
Intel® System Studios for Microcontrollers FAQs
What is Intel® System Studios for Microcontrollers?
*Integrated software suite built exclusively for developing, optimizing, and debugging applications on the Intel® Quark™ microcontroller D2000 and Intel® Quark™ SE microcontroller.
Why do I need to register?
There are international regulations that require Intel to register users who download an application of this nature. Registering will also allow Intel to keep you up to date on the latest releases.
I've downloaded Intel® System Studios for Microcontrollers, now what?
Once you have download the application, run the install wizard, and then launch the application (i.e. from the Start Menu on Windows*). On the welcome page you’ll find a tutorial to help you get started with the LED_Blink light sample code. You can also try the Accelerometer Tutorial or create your own programs