Creating a RAID 5 in Intel® Embedded Server RAID Technology 2 with RKSATA8R5 with an Intel® Server Board S1200SPL
Content Type: Install & Setup | Article ID: 000022204 | Last Reviewed: 02/04/2020
How do I create a RAID 5?
Activate the UEFI boot option:
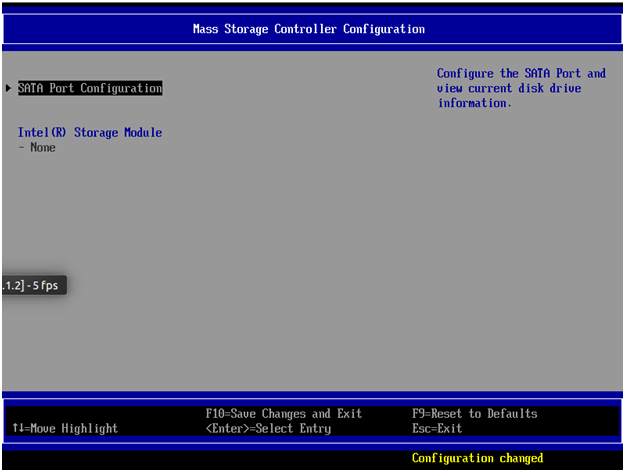
Go to the Advanced menu and select Mass Storage Controller Configuration:

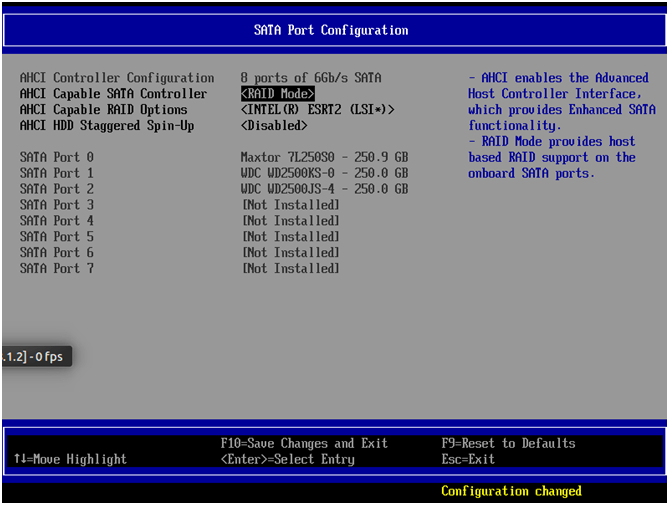
Select SATA Port Configuration:
Change the AHCI Capable SATA Controller from the AHCI (default) option to RAID Mode:

In the AHCI Capable RAID Options, make sure that INTEL® ESRT2 (LSI*) is selected (Intel® ESRT2 is short for Intel® Embedded Server RAID Technology 2):
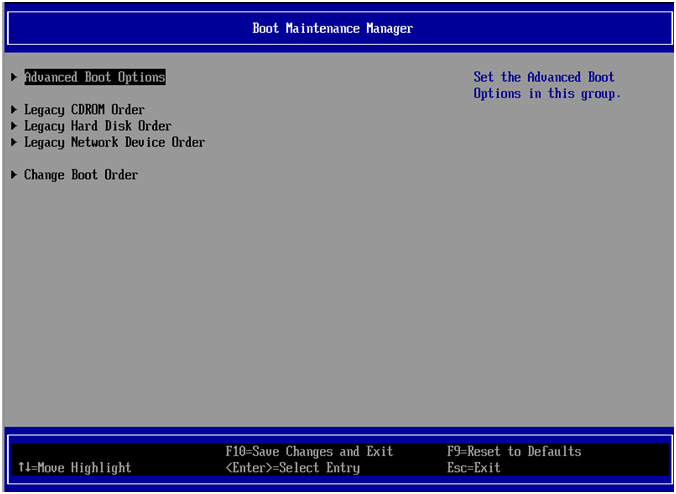
Press the Escape key until you get back to the Main Menu, and then select the Boot Maintenance Manager:

Go to the Advanced Boot Options:
In the Boot Mode menu, select the Legacy option and press Enter to change it UEFI:
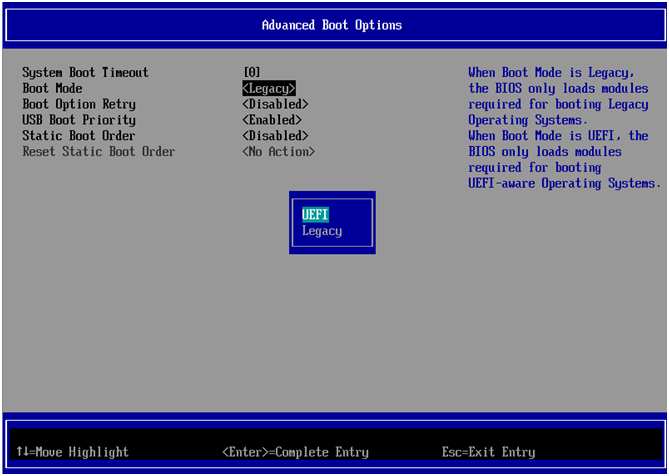
Press F10 and save the changes. The system then reboots.
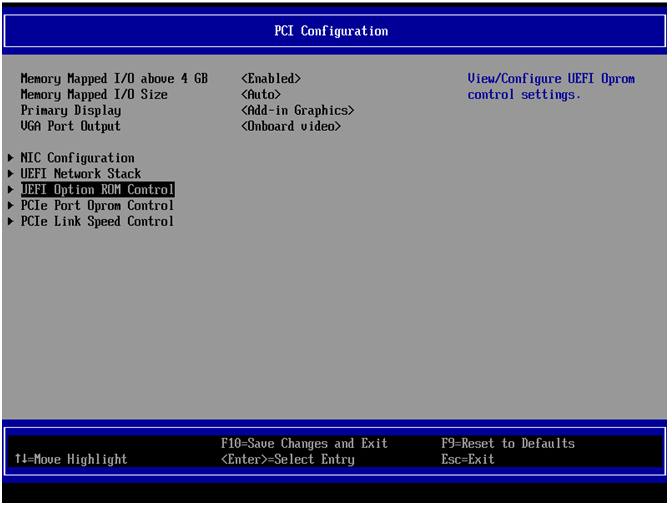
Within the next screen, select Intel Embedded Server RAID Technology 2 under the Storage Controller section.

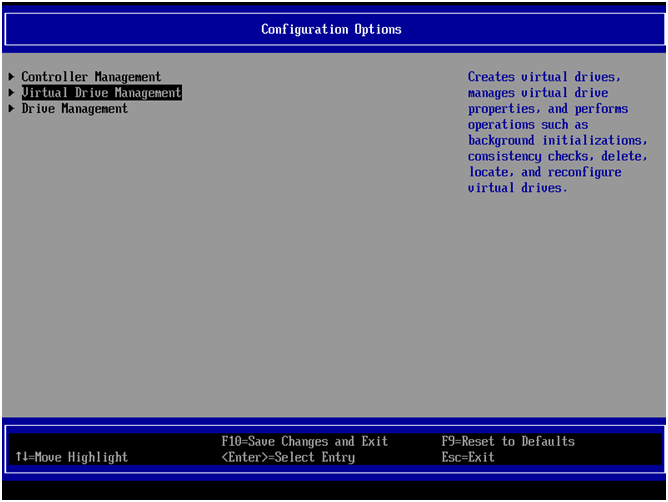
Select Virtual Drive Management:
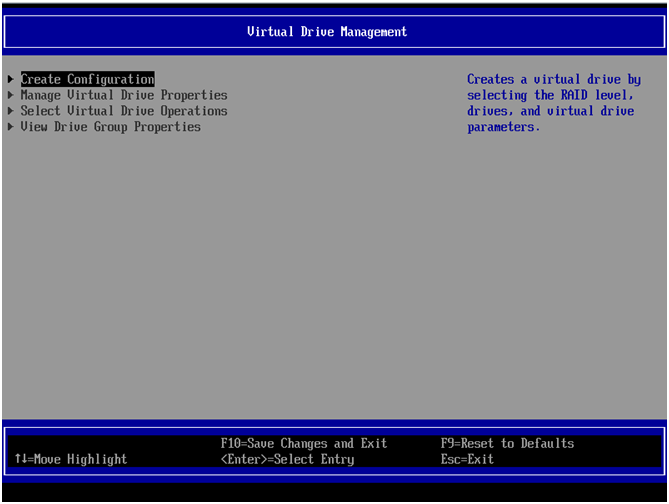
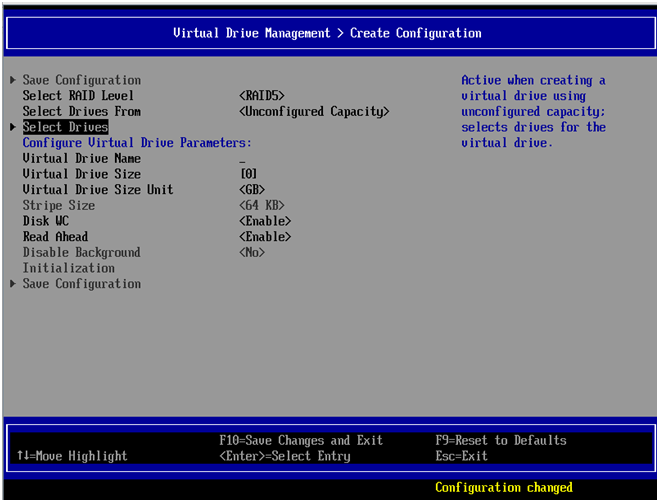
Select the Create Configuration option:
Highlight the Select RAID Level option and choose RAID5:
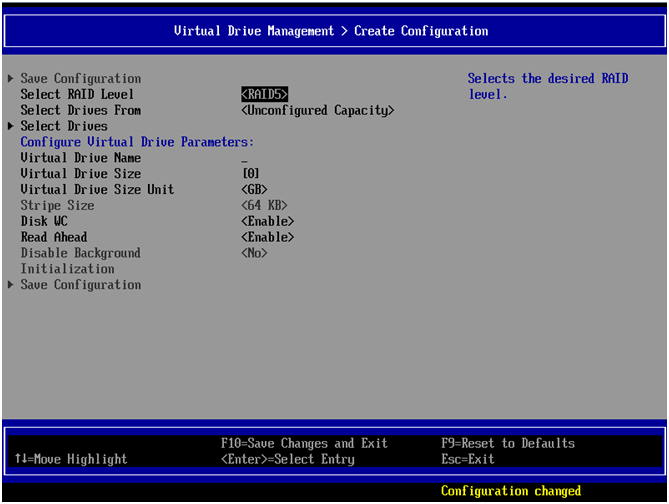
Configure your RAID array accordingly, selecting the available drives in your configuration:
Select the drives that will be used in the RAID array by pressing the space bar. Select the Apply Changes option, and then on the next screen select OK:
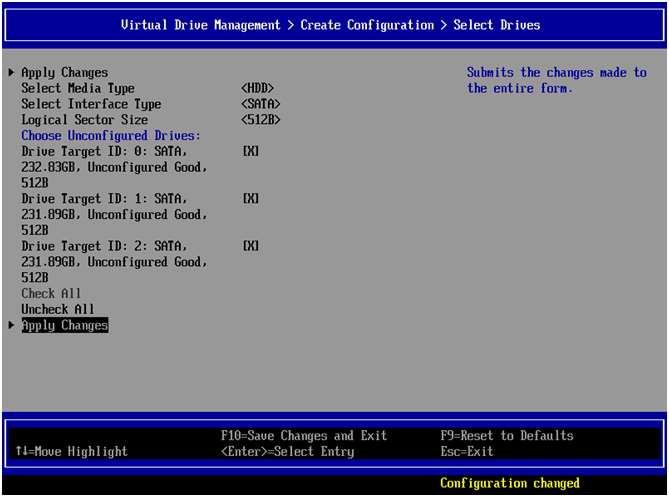
| Note | If your drives are solid-state drives (SSDs) instead of hard disk drives (HDDs), make sure you select SSD. Therefore, the drives can be seen as selectable. |
Select Save Configuration:
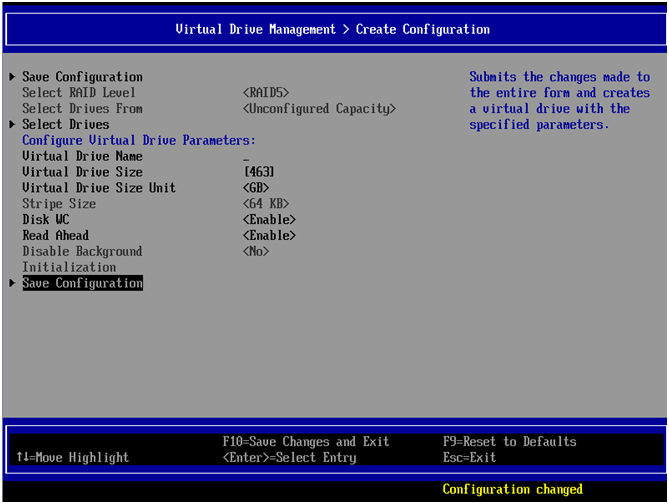
Select Yes:

Go back to the Main Menu by pressing the Escape key, and then press F10 to save and exit.
At this point, the RAID array is created, and then you can install the OS normally within the EFI* Shell.
| Note | Do not revert to Legacy mode after you have installed an OS using UEFI; otherwise, the system does not recognize the bootable volume. |