Software Installation for Running the Intel® Gaudi® Docker Image Using Intel® Gaudi® AI Accelerators
Intel® Gaudi® nodes or virtual machines from a cloud service provider usually have the appropriate drivers preinstalled and users should simply load the latest Intel® Gaudi® Docker image to run their workloads. If you are installing or upgrading a new Intel® Gaudi® node or want to install all the software manually, please refer to the detailed installation guide.
Follow the steps below to determine if a Gaudi platform is installed with the 1.21.0 Gaudi software driver and supports a compatible Intel® Gaudi® Docker image.
1) Determine the version of the Gaudi drivers installed on the system
Execute the following command directly on the Gaudi node to display driver version installed:
hl-smi | grep Driver
For example, if the installed version is 1.21.0, the output should be as follows:
| Driver Version: 1.21.0-XXXXXXX |
2) Consult the support matrix to determine which PyTorch images are compatible with the driver
- Refer to the support matrix in the documentation corresponding to the driver installed and the target hardware.
- Refer to the PyTorch row to determine the version of the pytorch-installer container released with and optimized for the installed drivers.
- Refer to the Backward/Forward Compatibility compatibility table to determine additional version of the pytorch-installer container compatible with the installed drivers.
3) Confirm the installation and configuration of the container runtime
To verify that the container runtime is installed on the node, run the following command:
apt list --installed | grep habanalabs-container-runtime
The habanalabs-container-runtime package, with the appropriate version, should be listed:
habanalabs-container-runtime/jammy,now 1.21.0-555 amd64 [installed]
Install it, if required:
apt install habanalabs-container-runtime
Make sure the container service on the platform is configured properly to use the habana container runtime. Please refer to the Gaudi software documentation on how to properly configure the container runtime for the platforms container service. Note: Reinstalltion of the habanalabs-container-runtime package will require the reconfiguration of the container service.
4) Start and verify a compatible Intel® Gaudi® Docker image
Select a compatible Intel® Gaudi® Docker image with an appropriate base OS and PyTorch version and then pull and run the Intel® Gaudi® Docker image. The example below shows how to pull and run the Intel® Gaudi® Docker image associated with the 1.21.0 Gaudi software release with the Ubuntu 22.04 OS and the 2.6.0 version of PyTorch:
docker pull vault.habana.ai/gaudi-docker/1.21.0/ubuntu22.04/habanalabs/pytorch-installer-2.6.0:latest
docker run -it --runtime=habana -e HABANA_VISIBLE_DEVICES=all -e OMPI_MCA_btl_vader_single_copy_mechanism=none --cap-add=sys_nice --net=host --ipc=host vault.habana.ai/gaudi-docker/1.21.0/ubuntu22.04/habanalabs/pytorch-installer-2.6.0:latest
After starting the Intel® Gaudi® Docker image, the docker exec can also be used to access it:
docker exec -it Gaudi_Docker bash
To verify the Intel® Gaudi® Docker images's runtime components, run the following command:
apt list --installed | grep habanalabs
If the Intel® Gaudi® Docker image has the runtime packages properly installed should contiain the following package list list:
habanalabs-firmware-tools/now 1.21.0-555 amd64 [installed,local]
habanalabs-graph/now 1.21.0-555 amd64 [installed,local]
habanalabs-rdma-core/now 1.21.0-555 all [installed,local]
habanalabs-thunk/now 1.21.0-555 all [installed,local]
These packages should be compatible with the driver installed on the Gaudi node, as documented in the support matrix.
To verify the Intel® Gaudi® Docker image has the Gaudi software PyTorch pip packages properly installed, run the following command:
pip list | grep habana
If the Intel® Gaudi® Docker image has the Gaudi software PyTorch pip packages properly installed should contiain the following pip package list:
habana_gpu_migration        1.21.0.555
habana-media-loader         1.21.0.555
habana-pyhlml               1.21.0.555
habana-torch-dataloader     1.21.0.555
habana-torch-plugin         1.21.0.555
lightning-habana            1.6.0
Setting up Jupyter Notebook on an Intel® Gaudi® Platform
o setup the Jupyter Notebook, first be sure that you add a local port forwarding to the ssh command to be able to access a local Jupyter Notebook. For example, add the command: ssh -L 8888:localhost:8888 .. to be able to access the Notebook. In the example below the standard login is ssh -J guest@146.152.232.8 ubuntu 100.80.239.52, but with the port forwarding it will change this to:
ssh -L 8888:localhost:8888 -J guest@146.152.232.8 ubuntu 100.80.239.52
Once logged into the system, follow the same steps as listed above to load and run the Docker image. Install the libraries and run the model setup for the appropriate example. This will include cloning the HabanaAI Gaudi-tutorials branch associated with the desired release branch. Run the following command to install and run the Jupyter Notebook server in the Docker container:
python3 -m pip install jupyterlab
python3 -m jupyterlab_server --IdentityProvider.token='' --ServerApp.password=''  --allow-root --port 8888  --ServerApp.root_dir=/root &
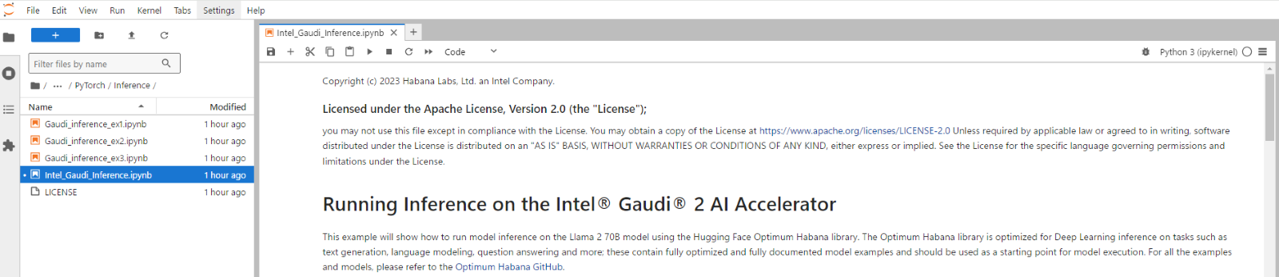
Open an internet browser at: http://127.0.0.1:8888/lab and use the left navigation panel to select the desired notebook. The image below shows how to select the notebook associated with the pretraining tutorial. Click on the PyTorch/Pre_Training/Intel_Gaudi_Pretraining.ipynb file, and you will then see the Jupyter Notebook as shown: