Forging ahead
Just as parallelism and multithreaded programming paved the way for the performance strides of multicore CPUs, Vulkan* APIs are poised to forge a future of multithreaded, cross-platform GPU programming, and high-performance rendering, regardless of the target device.
The heir apparent to OpenGL*, Vulkan gives developers greater control over threading and memory management, and more direct access to the GPU than predecessor APIs, which means more versatility for addressing an array of target platforms. The only costs are a relatively up-to-date processor, and a bit more development work up front.
Everything you need
The minimum requirement for developing with Vulkan APIs on Intel Graphics GPUs is a processor from the 6th Generation Intel® Processor Family (introduced in August, 2015), running 64-bit Windows* 7, 8.1 or Windows® 10. Intel also offers a 64-bit, Windows 10-only driver for 6th-, 7th- or 8th-generation processors. Vulkan drivers are now included with Intel® HD Graphics drivers, which helps simplify the setup process.
The following instructions are for setting up a development host with Intel® HD Graphics.
Part one: Download Intel® Graphics Driver
- Visit the Download Center.
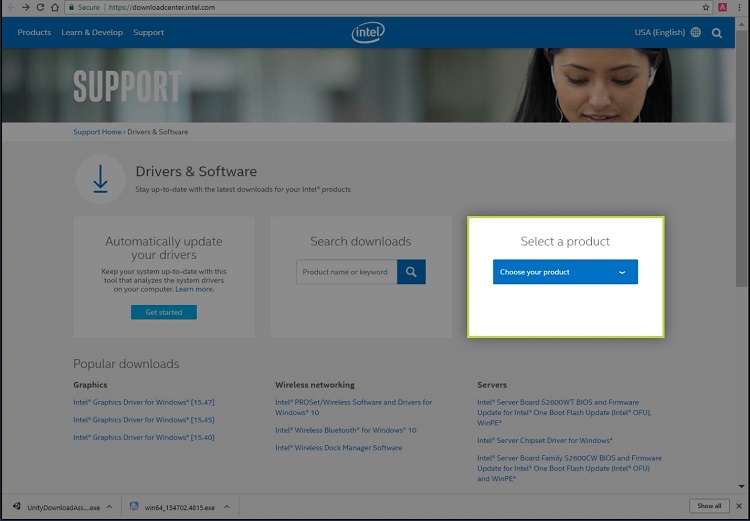
- Select “Graphics Drivers” from the “Select a Product” drop-down menu.

- Select the required driver based on the development host
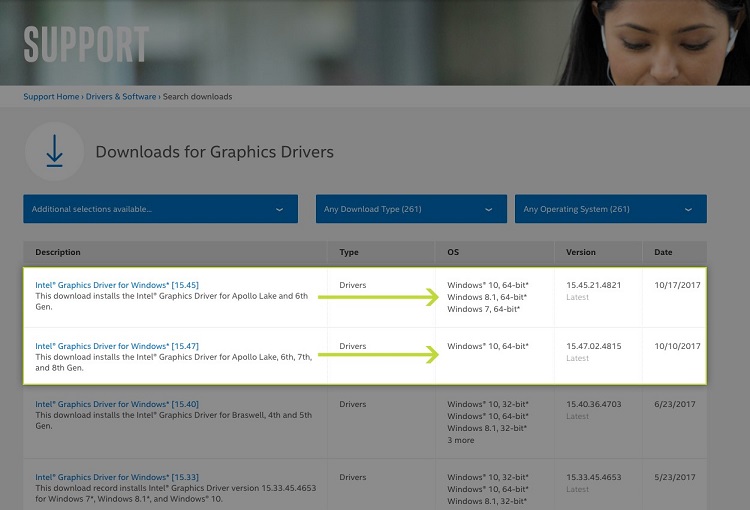
- Download the .ZIP version of the driver.

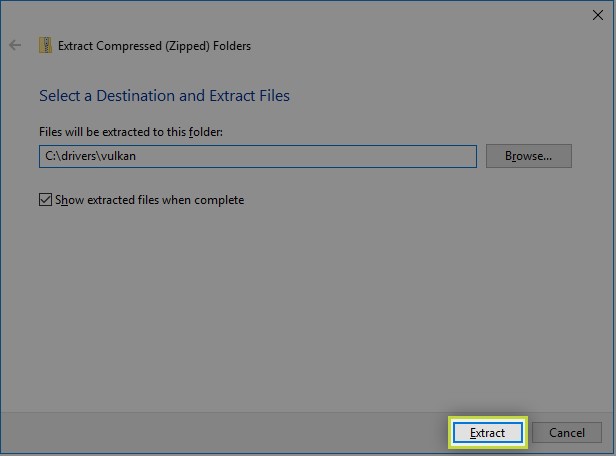
- Extract all files from the .ZIP and create a memorable destination folder.
Part two: Update graphics in Windows
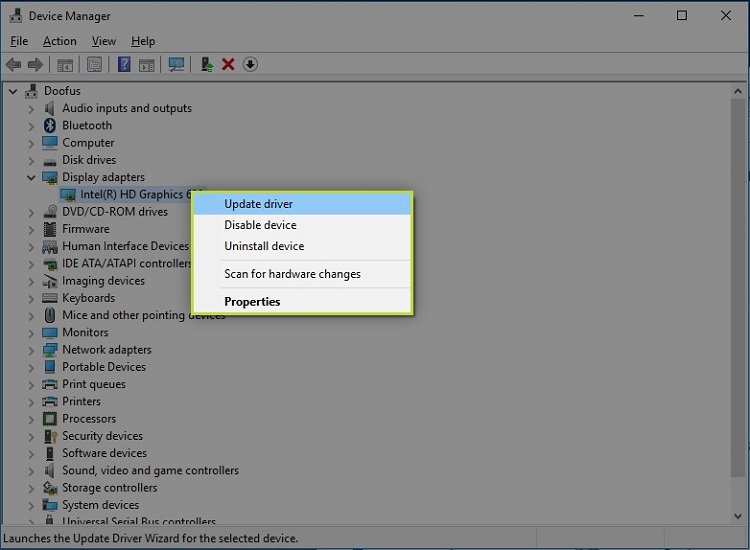
- In Device Manager, expand “Display adapters,” right-click on the Intel HD Graphics adapter, and select “Update driver.”
- Select “Browse my computer…” in the “Update Drivers” screen.

- Select “Let me pick…”

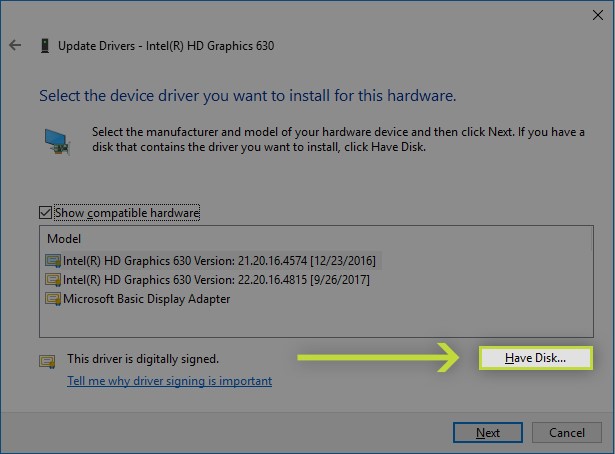
- Select “Have Disk…”
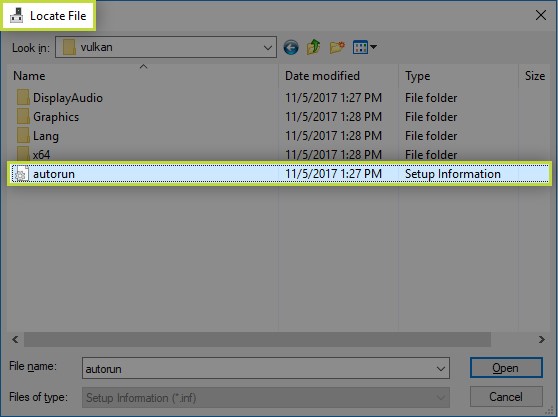
- Navigate to the folder containing the files unzipped in Step 5.
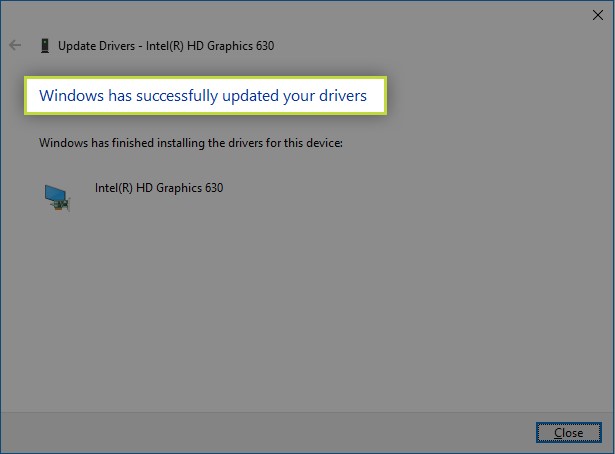
- If successful, a message like the one below will appear:
Part three: Configure Unity for Vulkan
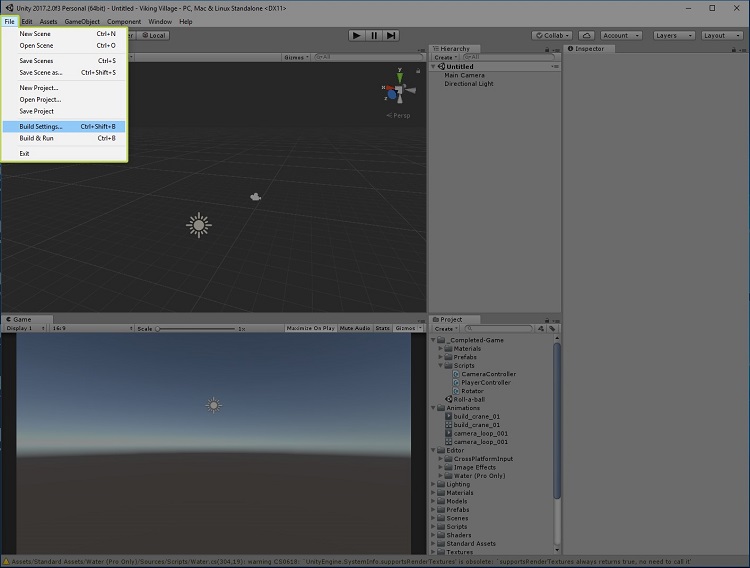
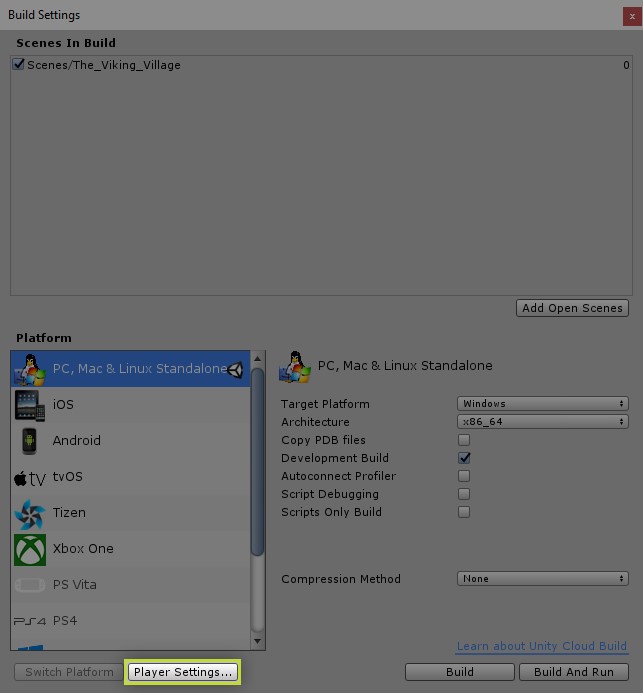
- Select “Build Settings…” from the Unity File menu.
- Select “Player Settings…” from the Build Settings panel.
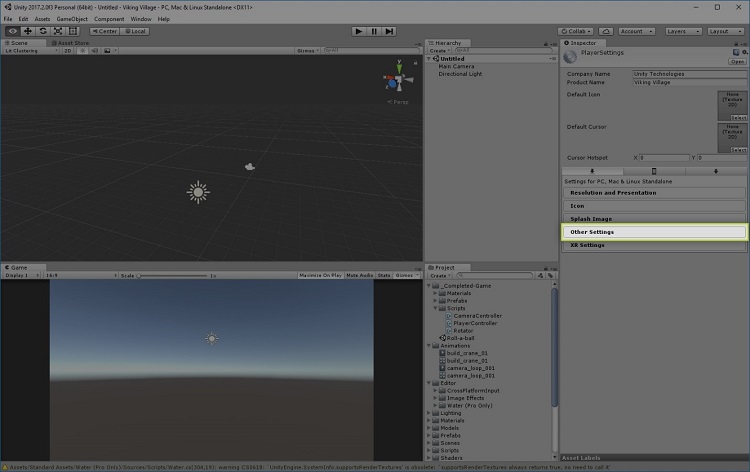
- Click to expand the “Other Settings” panel.
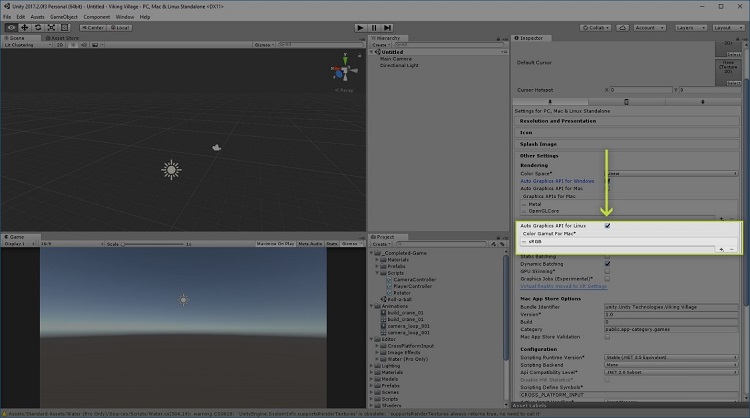
- Uncheck the “Auto Graphics API for Windows” checkbox.
- Click the “+” sign, and select Vulkan to add it to the list of active APIs.

- Remove other APIs from the active list, using the “–” sign.
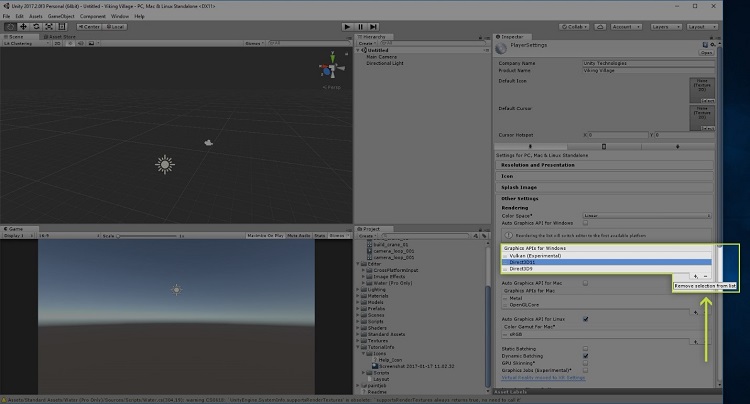
The project will now build with Vulkan APIs.