Visible to Intel only — GUID: zwx1588693428784
Ixiasoft
4.5.1.1. Preparing Your N3000 for JTAG
- Remove the cover to the N3000 board by removing the screws and lifting off cover, as shown below:
Figure 28. N3000 with Cover Attached
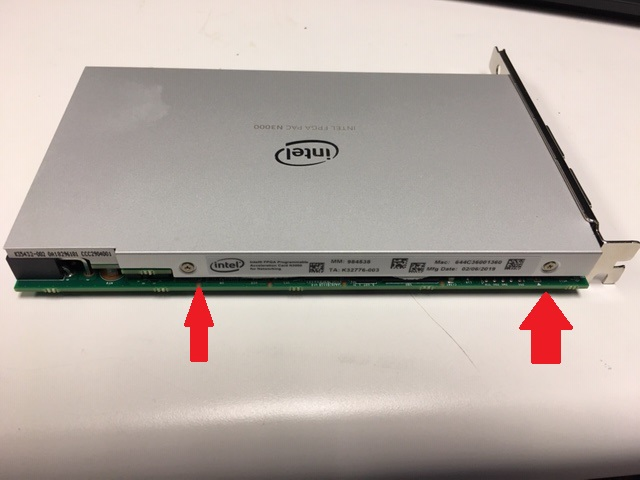 Figure 29. N3000 Board Exposed
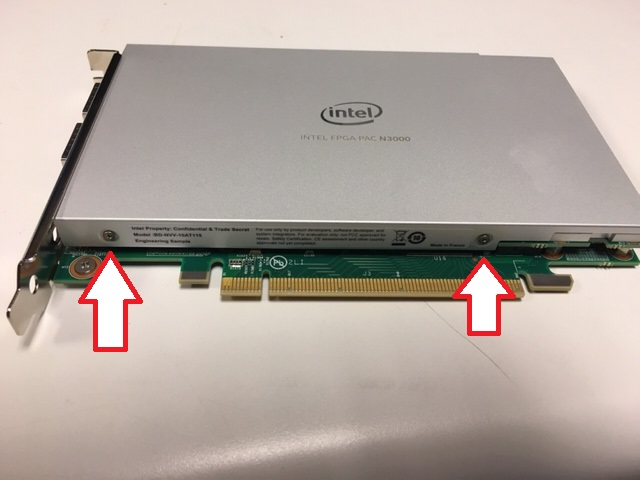
- Turn the N3000 board over to the backside and locate "SW2" as shown below:
Figure 30. Bottom Side of the N3000 Board
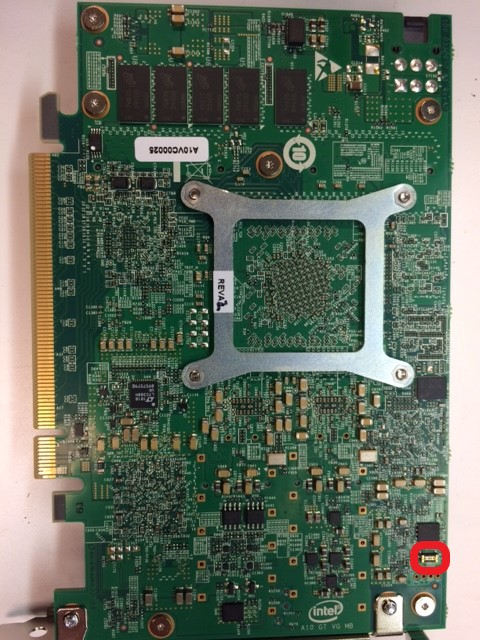 Note: The "SW2" Switch must be in the OFF position.
You can tell the switch is set to OFF by using an Ohm meter to measure resistance across the switch. When the switch is set to OFF, the resistance should be approximately 10-13 K Ohms. Slide the switch using a probe tool to OFF if required.
- Use a 10 Position receptacle, as shown below, to extend the N3000 JTAG header for connectivity above the heatsink to the Intel® FPGA Download Cable II. Note: Pay attention to the manufacturer and part number.
Figure 31. 10 Position Receptacle
- Attach the Intel® FPGA Download Cable II header as shown below:
Figure 32. Intel® FPGA Download Cable II Attached to the N3000
 Note: Notice the Intel® FPGA Download Cable II orientation as shown above. There is no keying of this connector.
 - Turn OFF the power to the server and insert the N3000 card into a PCIe Gen3 X 16 slot.
- Attach the auxiliary 12 V connection to the N3000 card, as shown below:
Figure 33. Auxiliary 12 V Connection
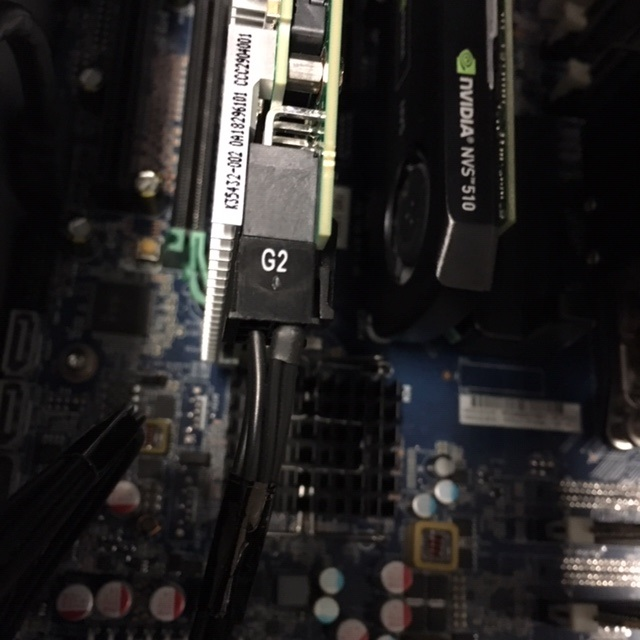 CAUTION:Make absolutely certain substantial server air flow velocity is provided. The card will overheat if adequate airflow is not provided.
 - Power on server.