Set Up Amazon Web Services* Cloud Storage
To enable Cloud Storage on the installed Reference Implementation, you will need Amazon Web Services* (AWS*) paid/free subscription to enable your root user account that has to support the following services:
Identity and Access Management (IAM)
Amazon S3 Bucket
After finishing the setup for IAM and S3, you will have your AWS_ACCESS_KEY, AWS_SECRET_ACCESS_KEY and AWS_S3_BUCKET_NAME to be used on your Edge Insights for Fleet Reference Implementation Cloud Data - Configuration.
References
Setup Steps
From your AWS management console, search for IAM and open the IAM Dashboard.
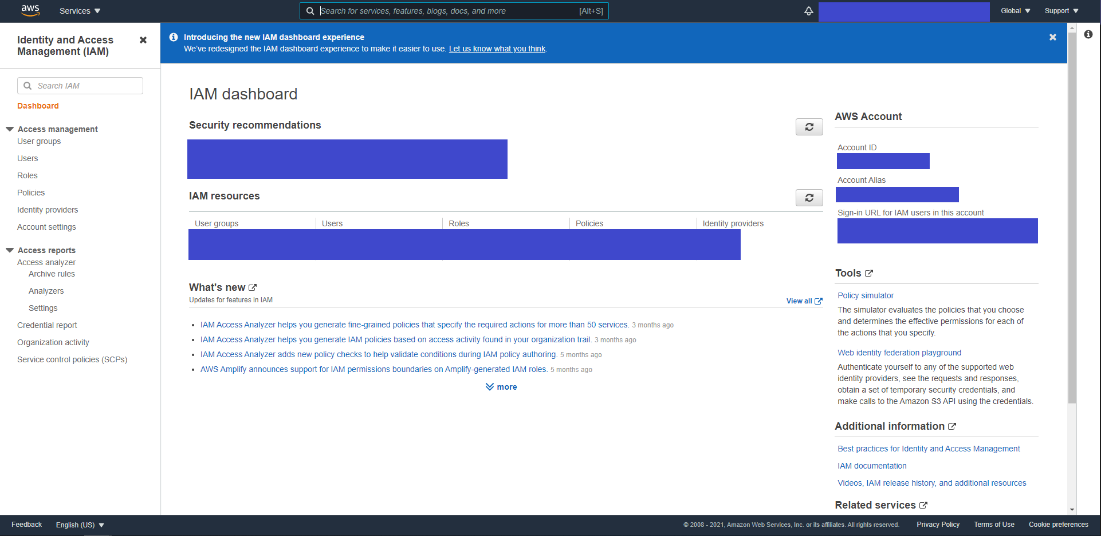
On the left menu of the dashboard, go to Access management and click on Users to open the IAM Users tab.
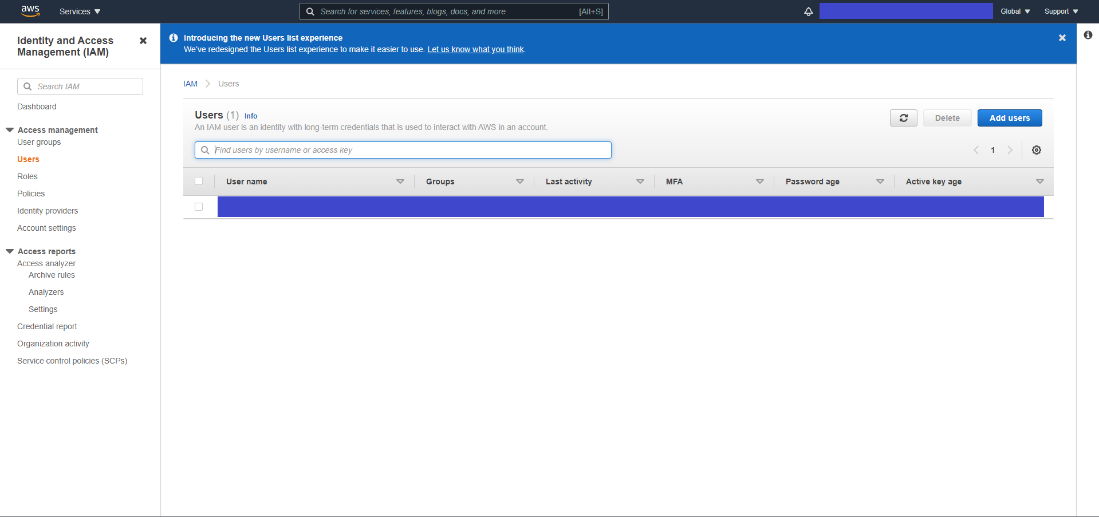
From the IAM users tab, click on Add User to access the AWS add user setup.
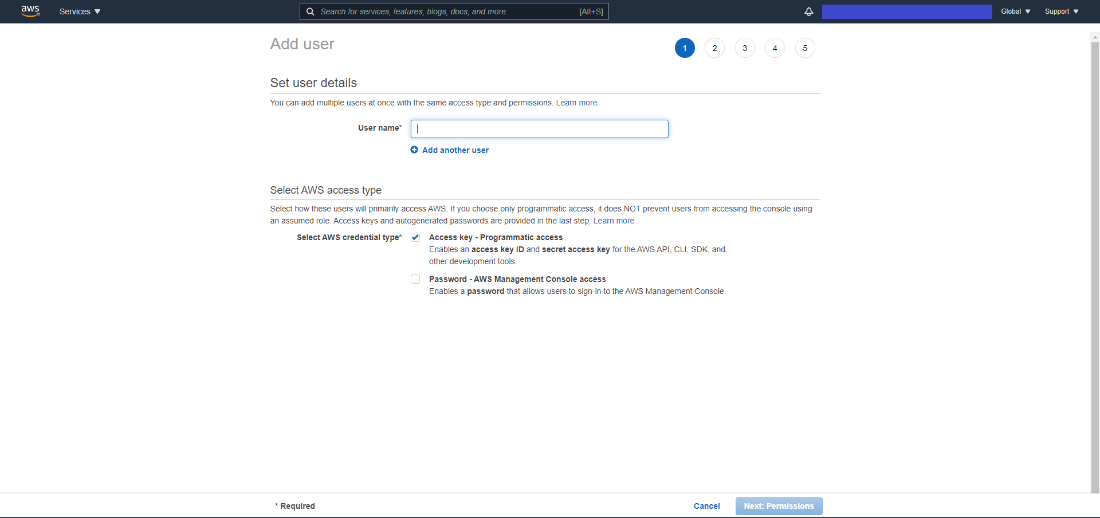
On the first tab, provide the username and select the AWS credentials type to be Access key.
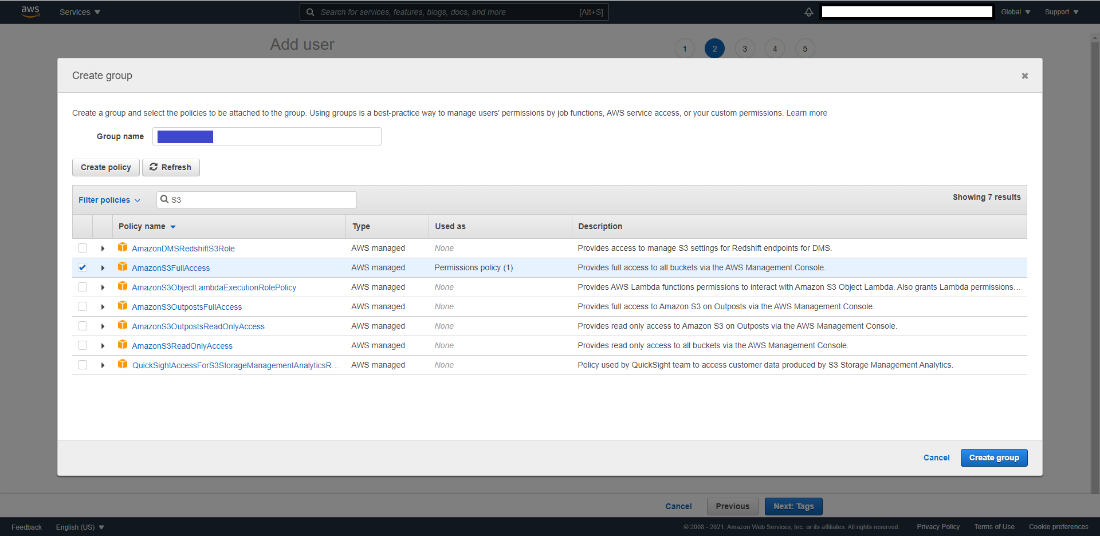
On the second tab, create a group to attach policies for the new IAM user.
Search for S3 and select AmazonS3FullAccess policy.
Click on Create group.
Select the group you have created and click on Next: Tags.
Tags are optional. If you don’t want to add tags, you can continue to the Review tab by clicking on Next: Review.
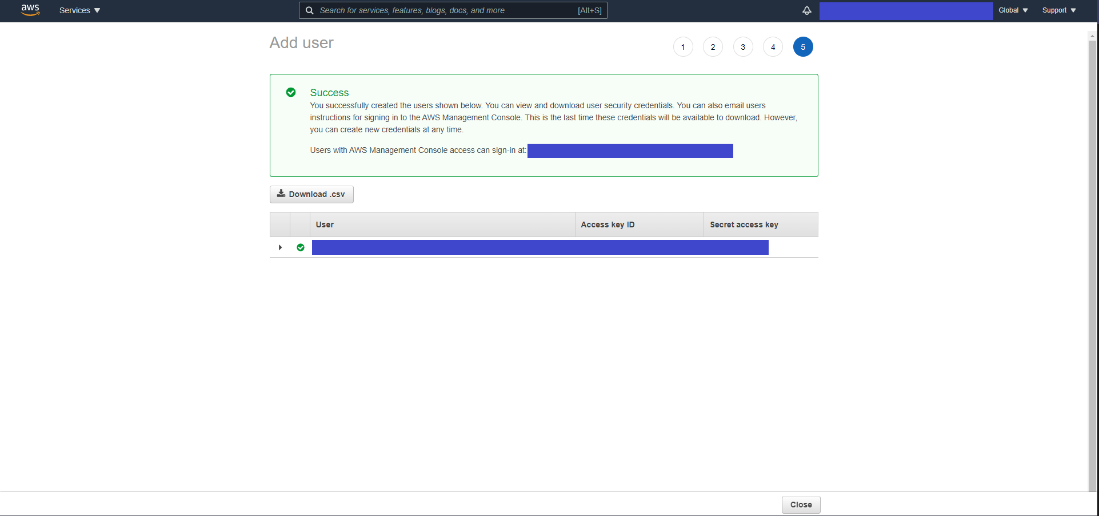
After review, you can click on the Create User button.
On this page, you have access to AWS Key and AWS Secret Access key. (Click on Show to view them.)
Save both of them to be used later on your Cloud Data - Configuration on the Edge Insights for Fleet Reference Implementation you have installed.
NOTE:The AWS Secret Key is visible only on this page, you cannot get the key in another way.If you forget to save the AWS Secret Key, you can delete the old one and create another key.
After you have saved the keys, close the tab. You are returned to the IAM Dashboard page.
Click on the user created and save the User ARN to be used on S3 bucket setup.
NOTE:In case you forgot to save the AWS Secret key from the User tab, you can select Security Credentials, delete the Access Key and create another one.
S3 Bucket
S3 bucket service offers cloud storage to be used on cloud based applications.
S3 Bucket Service setup
Open the Amazon Management Console and search for Amazon S3.
Click on S3 to open the AWS S3 Bucket dashboard.
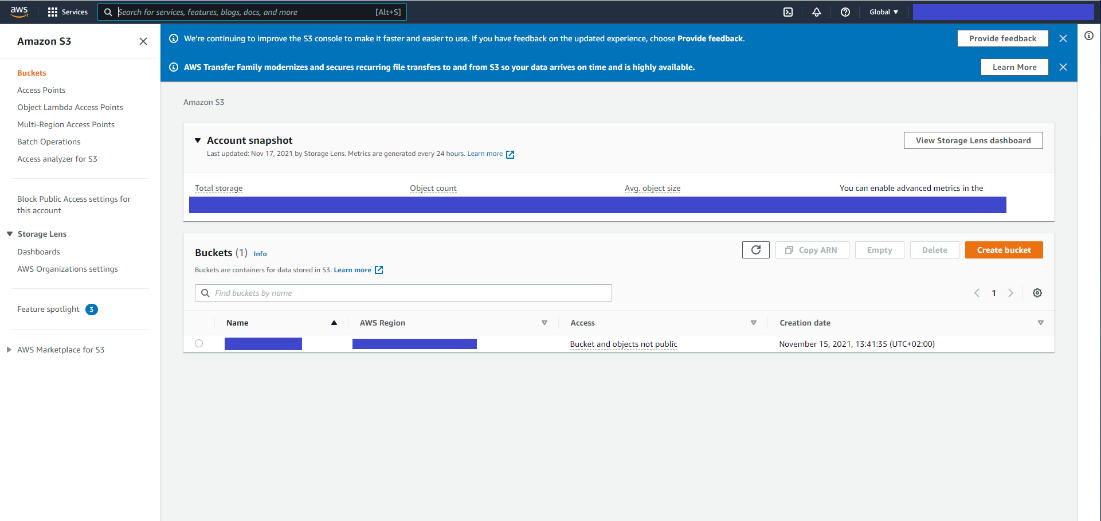
On the left side menu, click on Buckets.
Click on the Create Bucket button to open the Create Bucket dashboard.
Enter a name for your bucket and select your preferred region.
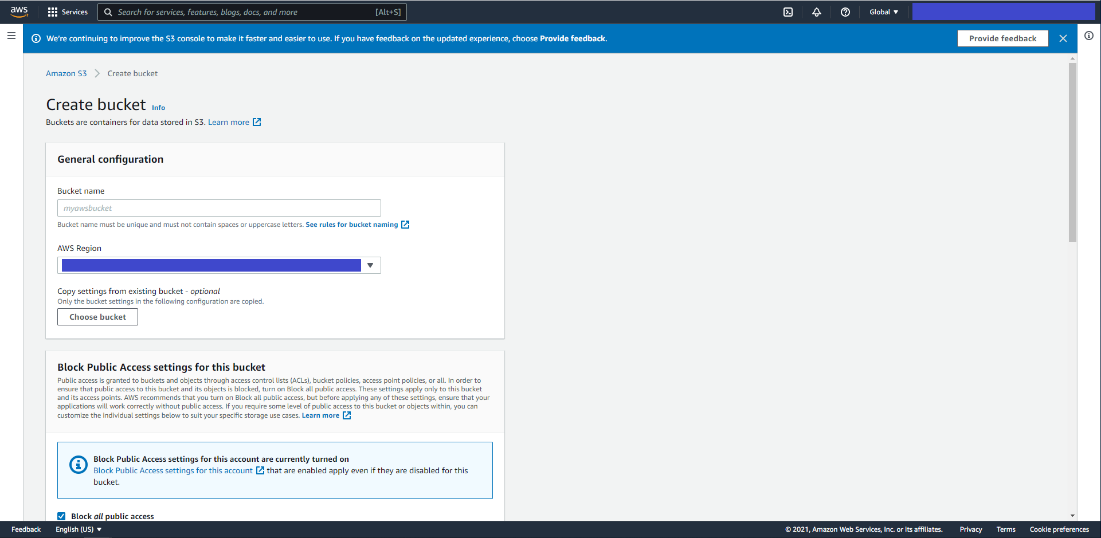
Scroll down and click on Create Bucket.
From the S3 Bucket Dashboard, click on the newly created bucket and go to the Permissions tab.
Scroll to Bucket Policy and click on Edit to add a new statement in statements tab that is already created to deny all the uploads.
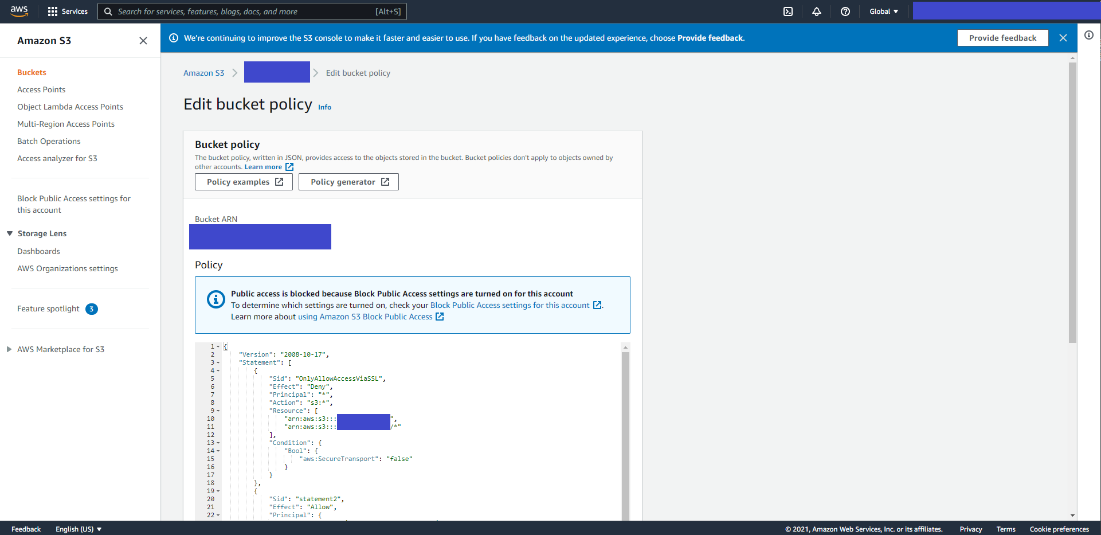
You must add a comma before adding the following information.
{
    "Sid": "<Statement name>",
    "Effect": "Allow",
    "Principal": {
        "AWS": "<User_ARN_Saved>"
    },
    "Action": "s3:*",
    "Resource": [
        "arn:aws:s3:::<bucket_name>",
        "arn:aws:s3:::<bucket_name>/*"
    ]
}
Update with the following statement with statement name, your user ARN saved at IAM setup - step 11 and your bucket name.
Click on Save changes. If the change is successful, you will see a success saved message, otherwise you need to re-analyze the json file to fix the error.