Note: These instructions were written for the ODROID-C2*, but steps should be similar for other ARM* 64 SBCs such as ODROID-XU4 as long as your environment is using a 64-bit operating system.
If your device uses a 32-bit operating system supporting at least the ARMv7 instruction set, visit this article about ARMv7.
Note: For general instructions on building and using the open source distribution of the OpenVINO™ toolkit with the Intel® Neural Compute Stick 2 and the original Intel® Movidius™ Neural Compute Stick please take a look at the article on that topic.
Intro
The Intel® Distribution of the OpenVINO™ toolkit and the Intel® Neural Compute Stick 2 (Intel® NCS 2) are the perfect complement for vision applications in low power and development environments. Getting set up on so many different architectures presents opportunities. ARM* platforms such as ARM64 are becoming increasingly common for developers building and porting solutions with low powered singe-board computers (SBCs). These can have widely varying requirements compared to traditional x86 computing environments. While the Intel® Distribution of the OpenVINO™ toolkit provides a binary installation for multiple environments, including the popular Raspberry Pi* SBC, the open-source version of the Intel® OpenVINO™ toolkit offers developers the opportunity to build the toolkit and port application(s) for various environments.
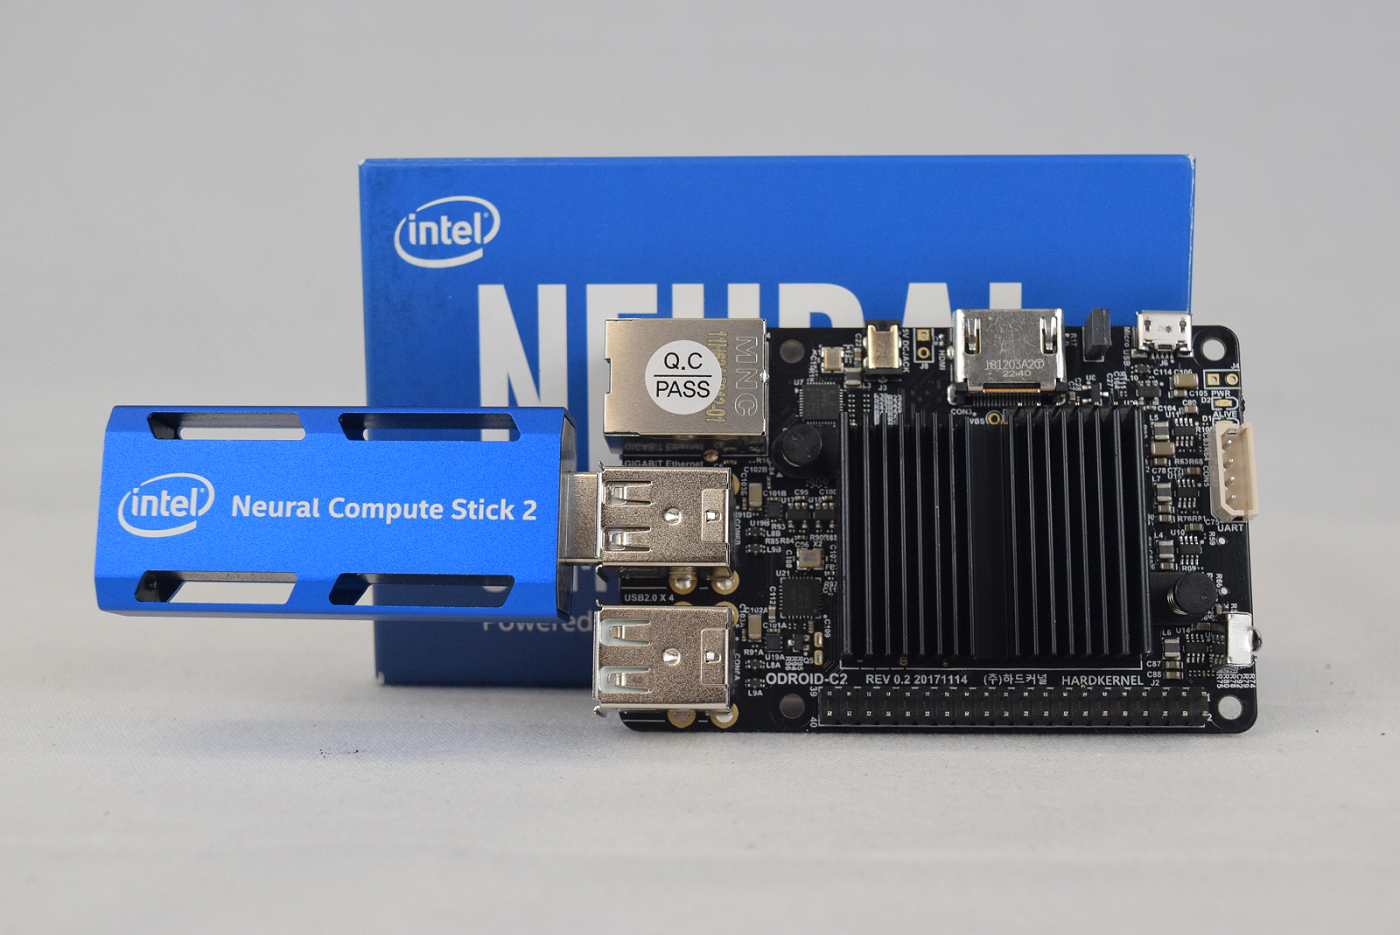
HARDKERNEL CO., LTD’s ODroid-C2 is microcomputer similar to the Raspberry Pi. The ODroid-C2 is an ARM64 platform with a powerful quad-core processor and plenty of RAM (2 GB) for multiple applications.
This article will guide you on your journey of setting up an ODroid-C2 with Ubuntu* 16.04 (LTS), building CMake*, OpenCV, and Intel® OpenVINO™ toolkit, setting up your Intel® NCS 2, and running a few samples to make sure everything is ready for you to build and deploy your Intel® OpenVINO™ toolkit applications.
Note: These instructions were written for the ODroid-C2, but steps should be similar with other ARM64 setups if your environment is using a 64-bit operating system.
Hardware
Make sure that you satisfy the following requirements before beginning. This will make sure that the install process goes smoothly:
- ARM64 board such as the ODroid-C2
- AT LEAST 8GB microSD Card. If an eMMC storage device is installed on the device, you need an eMMC Reader device to flash the image
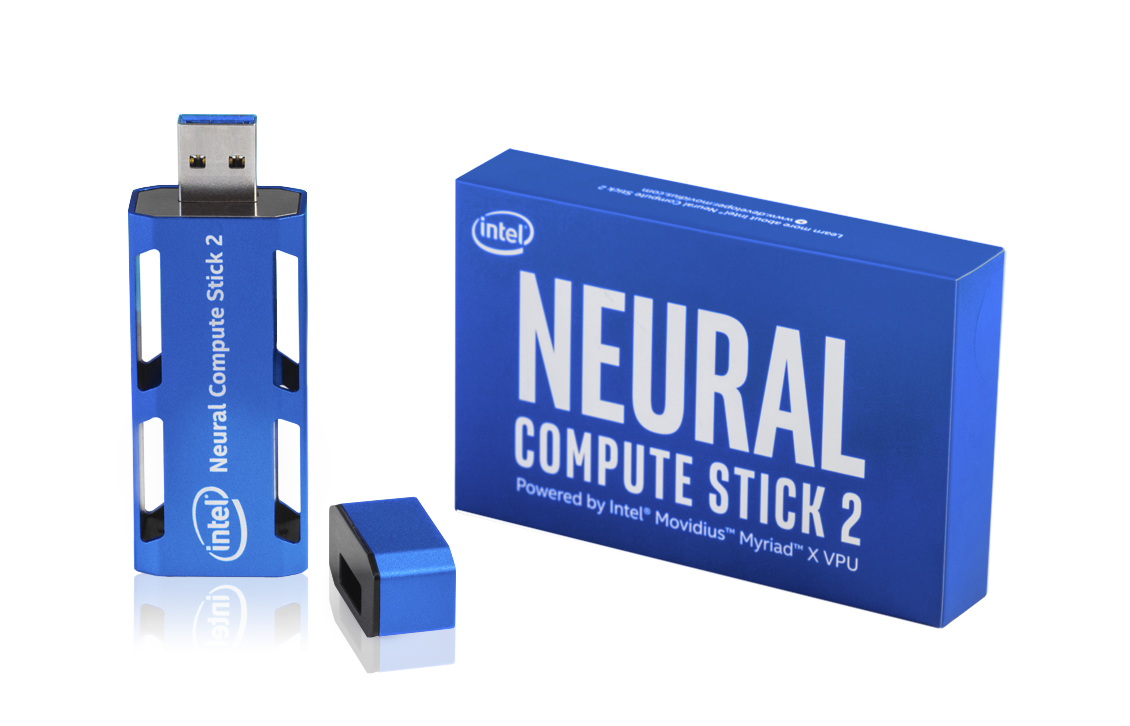
- Intel® Neural Compute Stick 2 (Intel® NCS 2)
- Ethernet Internet connection OR compatible USB wireless adapter
- Dedicated 5V 2A Micro-USB Power Adapter or compatible DC Power Adapter
- Keyboard
- HDMI Monitor
- HDMI Cable
- USB Storage Device
- Separate Windows*, Ubuntu*, or macOS* computer (like the one you’re using right now) for writing the installer image to device with a compatible microSD card reader
Setting Up Your Build Environment
Note: This guide assumes you are using the root user. If you have created another user and are logged in as that, run these commands as root to install correctly.
Make sure your device software is up to date:
sudo apt update && sudo apt upgrade -y
Some of the toolkit’s dependencies do not have prebuilt ARM64 binaries and need to e built from source – this can increase the build time significantly compared to other platforms. Preparing to build the toolkit requires the following steps:
- Install build tools
- Install CMake* from source
- Install OpenCV from source
- Clone the toolkit
These are outlined below, step by step.
Installing Build Tools
Install build-essential. This will install and setup the GNU C and GNU C++ compilers as well as development libraries and other packages.
sudo apt install build-essential
Once everything completes successfully, move forward to install CMake* from source.
Installing CMake* from Source
The open-source version of Intel® OpenVINO™ toolkit (and OpenCV, below) use CMake as their build system. The version of CMake in the package repositories for both Ubuntu 16.04 (LTS) and Ubuntu 18.04 (LTS) are too out of date for our uses and no official binary exists for the platform – as such we must build the tool from source. As of writing, the most recent stable supported version of CMake is 3.14.4.
To begin, fetch CMake from Kitware* GitHub* release page, extract it, and enter the extracted folder:
cd ~/
wget https://github.com/Kitware/CMake/releases/download/v3.14.4/cmake-3.14.4.tar.gz
tar xvzf cmake-3.14.4.tar.gz
cd ~/cmake-3.14.4
Run the bootstrap script to install additional dependencies begin the build:
./bootstrap
make -j4
sudo make install
Note: The install step is optional, but recommended. Without it, CMake will run from the build directory.
Note: The number of jobs the make command uses can be adjusted with the –j flag – it is recommended to set the number of jobs at the number of cores on your platform.
You can check the number of cores on your system by using the command
grep -c ^processor /proc/cpuinfo
Be aware that setting the number too high can lead to memory overruns, failing the build. If time permits, it is recommended to run 1 to 2 jobs.
CMake is now fully installed.
Install OpenCV from Source
Intel® OpenVINO™ toolkit uses the power of OpenCV to accelerate vision-based inferencing. While the CMake process for Intel® OpenVINO™ toolkit downloads OpenCV if no version is installed for supported platforms, no specific version exists for ARM64 platforms. As such, we must build OpenCV from source.
OpenCV requires some additional dependencies. Install the following from your package manager:
- git
- libgtk2.0-dev
- pkg-config
- libavcodec-dev
- libavformat-dev
- libswscale-dev
Clone the repository from OpenCV GitHub page, prepare the build environment, and build:
cd ~/
git clone https://github.com/opencv/opencv.git
cd opencv && mkdir build && cd build
cmake –DCMAKE_BUILD_TYPE=Release –DCMAKE_INSTALL_PREFIX=/usr/local ..
make -j4
sudo make install
OpenCV is now fully installed.
Download Source Code and Install Dependencies
The open-source version of Intel® OpenVINO™ toolkit is available through GitHub. The repository folder is titled <code>openvino</code>.
cd ~/
git clone https://github.com/openvinotoolkit/openvino.git
The repository also has submodules that must be fetched:
cd ~/openvino/inference-engine
git submodule update --init --recursive
Intel® OpenVINO™ toolkit has a number of build dependencies. The install_dependencies.sh script fetches them for you. There must be some changes made to the script to run properly on ARM platforms. If any issues arise when trying to run the script, then you must install each dependency individually.
Run the script to install the dependencies for Intel® OpenVINO™ toolkit:
cd ~/openvino
sh ./install_dependencies.sh
If the script finished successfully, you are ready to build the toolkit. If something has failed at this point, make sure that you install any listed dependencies and try again.
Building
The first step to beginning the build is telling the system where the installation of OpenCV is. Use the following command:
export OpenCV_DIR=/usr/local/lib
The toolkit uses a CMake building system to guide and simplify the building process. To build both the inference engine and the MYRIAD plugin for Intel® NCS 2 use the following commands:
cd ~/openvino
mkdir build && cd build
cmake -DCMAKE_BUILD_TYPE=Release \
    -DENABLE_MKL_DNN=OFF \
    -DENABLE_CLDNN=ON \
    -DENABLE_GNA=OFF \
    -DENABLE_SSE42=OFF \
    -DTHREADING=SEQ \
    -DENABLE_SAMPLES=ON \
    ..
make -j4
If the make command fails because of an issue with an OpenCV library, make sure that you’ve told the system where your installation of OpenCV is. If the build completes at this point, Intel® OpenVINO™ toolkit is ready to run. It should be noted that 64-bit builds are placed in the ~/openvino/inference-engine/bin/intel64/Release folder, despite the builds being ARM64.
Verifying Installation
After successfully completing the inference engine build, you should verify that everything is set up correctly. To verify that the toolkit and Intel® NCS 2 work on your device, complete the following steps:
- Run the sample program benchmark_app to confirm that all libraries load correctly
- Download a trained model
- Select an input for the neural network
- Configure the Intel® NCS 2 Linux* USB driver
- Run benchmark_app with selected model and input.
Sample Programs: benchmark_app
The Intel® OpenVINO™ toolkit includes some sample programs that utilize the inference engine and Intel® NCS 2. One of the programs is benchmark_app, a tool for estimating deep learning inference performance. It can be found in:
~/openvino/bin/aarch64/Release
Run the following command in the folder to test benchmark_app:
cd ~/openvino/bin/aarch64/Release
./benchmark_app -h
It should print a help dialog, describing the available options for the program.
Downloading a Model
The program needs a model to pass the input through. Models for Intel® OpenVINO™ toolkit in IR format can be obtained by:
- Using the Model Optimizer to convert an existing model from one of the supported frameworks into IR format for the Inference Engine
- Using the Model Downloader tool to download from the Open Model Zoo
- Download the IR files directly from download.01.org
For our purposes, downloading directly is easiest. Use the following commands to grab an age and gender recognition model:
mkdir ~/models
cd ~/models
wget https://download.01.org/opencv/2019/open_model_zoo/R1/models_bin/age-gender-recognition-retail-0013/FP16/age-gender-recognition-retail-0013.xml
wget https://download.01.org/opencv/2019/open_model_zoo/R1/models_bin/age-gender-recognition-retail-0013/FP16/age-gender-recognition-retail-0013.bin
Note: The Intel® NCS 2 requires models that are optimized for the 16-bit floating point format known as FP16. Your model, if it differs from the example, may require conversion using the Model Optimizer to FP16.
Input for the Neural Network
The last item needed is input for the neural network. For the model we’ve downloaded, you need a 62x62 image with 3 channels of color. This article includes an archive that contains an image that you can use, and is used in the example below. Download the archive to your board and use the following commands to extract files:
mkdir ~/OpenVINO/ && cd ~/OpenVINO
wget
http://software.intel.com/content/dam/develop/external/us/en/documents/Setup%20Additional%20Files%20Package.tar.gz
tar xvzf Setup\ Additional\ Files\ Package.tar.gz
The OpenVINO folder should contain two images, a text file, and a folder named squeezenet.
Note that the name of the archive may differ – it should match what you have downloaded from this article.
Configure the Intel® NCS 2 Linux USB Driver
Some udev rules need to be added to allow the system to recognize Intel® NCS 2 USB devices. Inside the tar.gz file attached there is a file called 97-myriad-usbboot.rules_.txt. It should be downloaded to the user’s home directory. Follow the commands below to add the rules to your device:
Note: If the current user is not a member of the users group then run the following command and reboot your device:
sudo usermod -a -G users "$(whoami)"
While logged in as a user in the users group:
sudo cp ~/OpenVINO/97-myriad-usbboot.rules_.txt /etc/udev/rules.d/97-myriad-usbboot.rules
sudo udevadm control --reload-rules
sudo udevadm trigger
sudo ldconfig
The USB driver should be installed correctly now. If the Intel® NCS 2 is not detected when running demos, restart your device and try again.
Running benchmark_app
When the model is downloaded, an input image is available, and the Intel® NCS 2 is plugged into a USB port, use the following command to run the benchmark_app:
cd ~/openvino/bin/aarch64/Release
./benchmark_app -i ~/OpenVINO/president_reagan-62x62.png -m ~/models/age-gender-recognition-retail-0013.xml ./lib -api async -d MYRIAD
This will run the application with the selected options. The –d flag tells the program which device to use for inferencing –MYRIAD activates the MYRIAD plugin, utilizing the Intel® NCS 2. After the command successfully executes the terminal will display statistics for inferencing.
If the application ran successfully on your Intel® NCS 2, then Intel® OpenVINO™ toolkit and Intel® NCS 2 are set up correctly for use on your device.
Inferencing at the Edge
Now that you’ve confirmed your ARM64 SBC is setup and working with Intel® NCS 2, you can start building and deploying your AI applications or use one of the prebuilt sample applications to test your use case. Next, we will attempt a simple image classification using SqueezeNetv1.1 and an image downloaded to the board. To simplify things the attached archive contains both the image and the network. The SqueezeNetv1.1 network has already been converted to IR format for use by the Inference Engine.
The following command will take the cat.jpg image that was included in the archive, use the squeezenet1.1 network model, use the MYRIAD plugin to load the model to the connected Intel® NCS 2, and infer the output.
As before, the location of the sample application is:
<OpenVINO folder>/inference-engine/bin/intel64/Release/
./classification_sample –i ~/OpenVINO/cat.jpg –m
~/OpenVINO/squeezenet/squeezenet1.1.xml -d MYRIAD
The program will output a list of the top 10 results of the inferencing and an average of the image throughput.
If you’ve come this far, then your device is setup, verified, and ready to begin prototyping and deploying your own AI applications using the power of Intel® OpenVINO™ toolkit.